
Breathing new life into our neglected backyard
We moved into our 70’s side-split, and we have done loads of work to make this house into our home, including fixing up a crappy backyard. Not only inside, but outside too. This transformation took place over the course of a few years, mainly due to time and budget constraints.
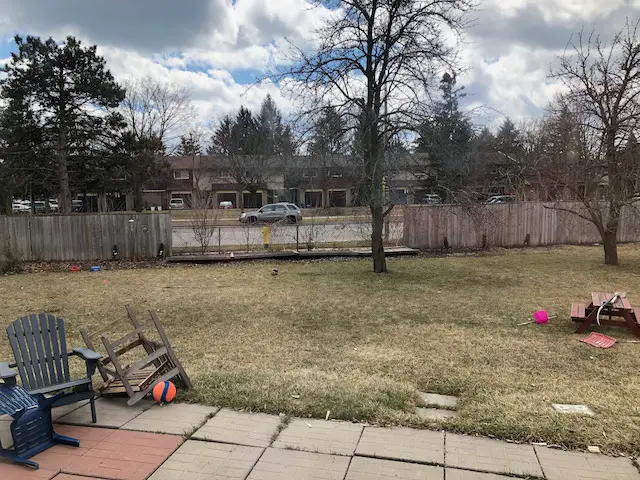
For me, that meant lots of work on our curb appeal and backyard appeal too. The backyard was a mess. There were stumps from a former tree line. A miss-matched and shifted, slab patio, weeds, anthills, and a sorry excuse for grass. This was a big project and was going to require some professional help.
Replacing a Slab Patio
The only thing we actually liked about the existing patio was the size and height. There would be too many stairs leading from the sliding door if it was too low, and if we raised it, it would feel like being on a stage, for all the neighbors to see.
The solution was a natural stone border to retain the patio on 3 sides, and natural granite stairs to transition from the rear door to the patio, and the patio to the lawn.
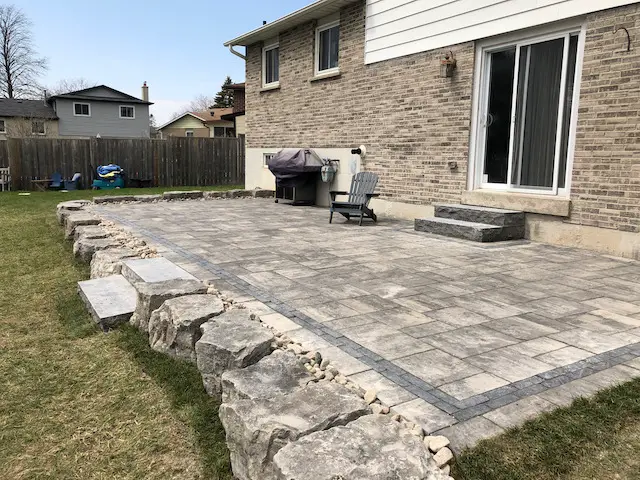
When selecting the manufactured stone for the patio we used the same grey and white color scheme from the house. We went with a grey rock with 3 different shades to it and laid it in a random pattern. We also added a double row of black stones, in a brick pattern for a bit of punch. The contrast is beautiful. To hold our patio in place we used giant rocks. River Rock filled in the gaps.
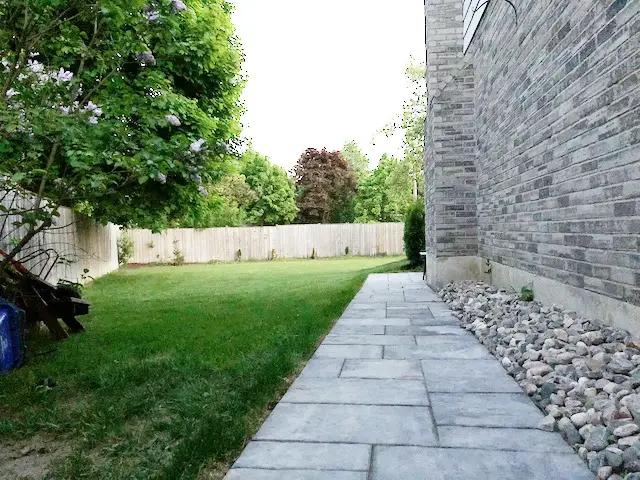
Along the side of the house, the stonework continued, right to the driveway.
Patio complete, and what a huge difference it made already. No more tripping over broken patio slabs and we finally had a nice place to sit outside 🙂
Adding an 8×10 Shed for Outdoor Storage.
With the Patio out of the way, we moved onto addressing storage. Our side-split has a single car garage which we intend to use for parking, which means we need enough storage outside the house for 4 kids, garden stuff, lawn stuff, tools and seasonal stuff. The easy solution was to add a shed.
Our yard backs onto a fairly busy street with lots of foot and car traffic, so to add a “buffer” between the noisy street and our future backyard paradise, we decided to position the shed in the corner partially blocking the road noise, and providing some privacy. Eventually, trees along the fence will provide more of a sound barrier.
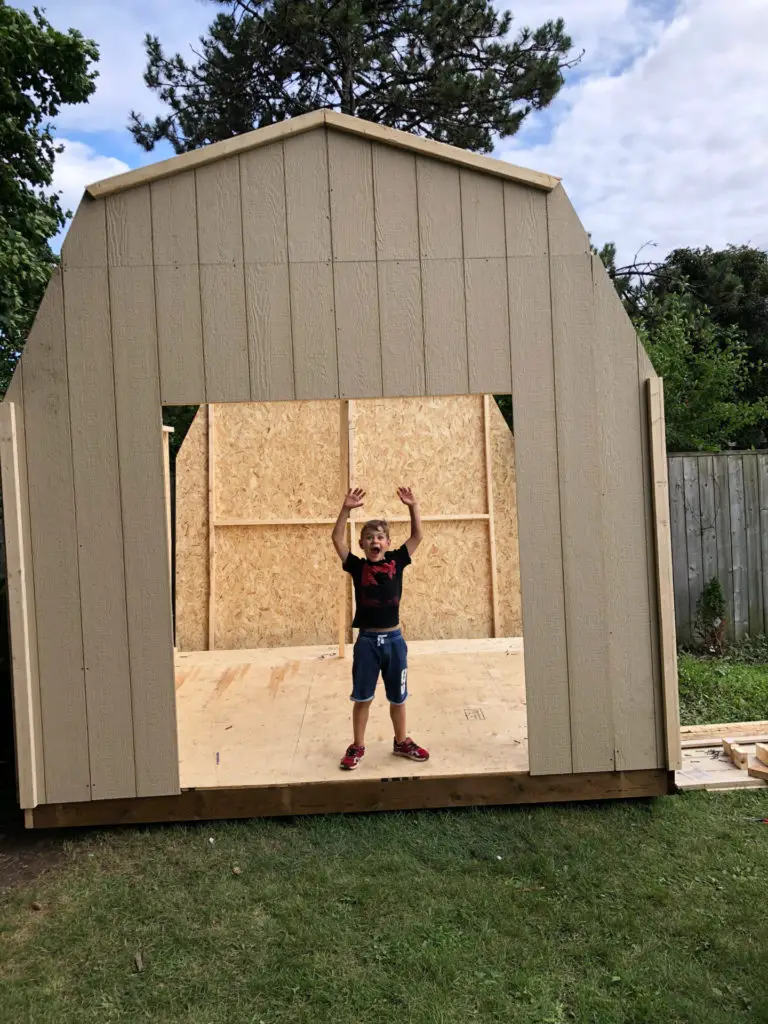
We went with a local professional shed company I had purchased from in the past. This time I had them deliver and assemble it for me. By the time I got home from work, there was a new shed in my backyard. Here is a very similar shed on Amazon.

The picture above was taken after I had stained the exterior. Unlike the pre-primed kits I could use a stain on this one. You can really see the difference in quality between a shed like this one, and the kits you get from big box stores. Its made with 2″x4″ dimensional lumber, and 5/8″ plywood. The tongue and grove looking panels are 4’x8′ plywood sheets, and all of the corners are capped off with wood trim. Most of the big box sheds like the one below, are made of 2″x3″ lumber and primed particle board with a wood grain pattern pressed into it. The 2″x3″ lumber is attached to the particleboard walls, and they form the “frame” when all the walls are joined together. Big box sheds are more economical and work just fine. They can easily be picked up or delivered.
Adding a 10×10 Utility Shed
I knew one shed wasn’t going to cut it for my storage needs, so I called up some friends and ordered a mini barn from Home Depot. Not quite the same quality as our other shed, but it’s huge and affordable. Certainly durable enough to store my stuff! This one on Amazon is basically the same.
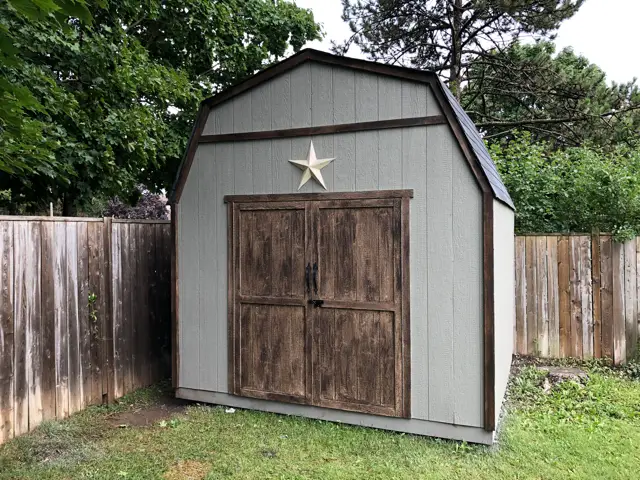
This shed received the same color treatment as the other one, only in Exterior Latex Paint, since the panels came pre-primed. I did use some leftover stain on the door and trim.
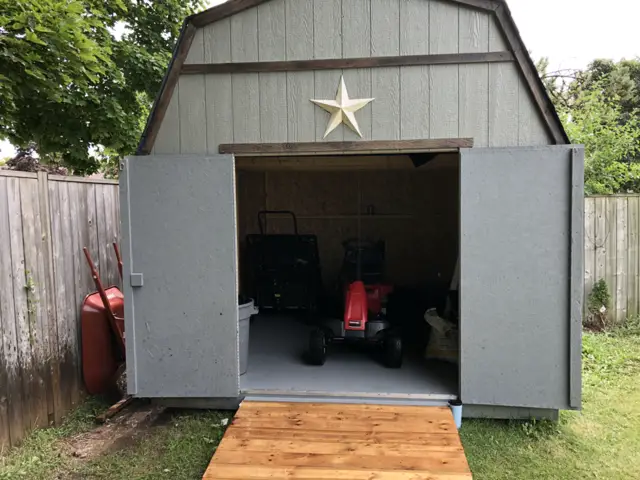
Lastly, I built a small ramp so I could easily get the lawn equipment inside.
Wow, this thing is huge!! I can cram tons of stuff inside haahah 🙂 Check out this carport addition I added for even more storage
Lawn and Garden Care for ugly backyards
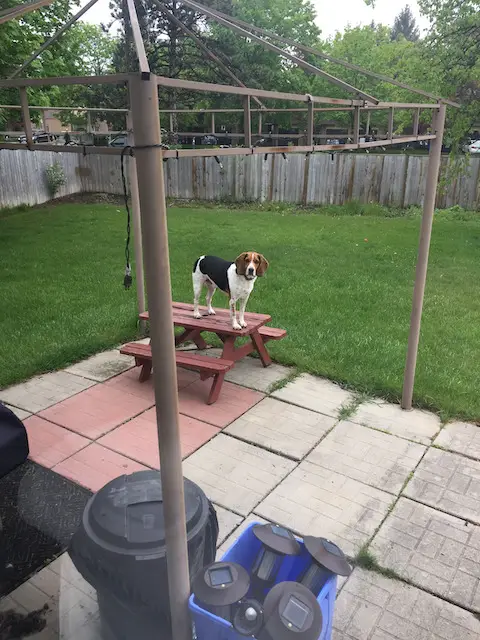
At some point, there was a large line of spruce trees growing across our yard. Some houses in the neighborhood still have them. We got stumps. Not only was it a paint to cut the grass, but it was also becoming a haven for weed growth. Time to start fixing up this crappy backyard

Lawn Care
Enter “Weedman” – yes, I swallowed my pride and once again called in a professional. For 1 year I had them spray for weeds, and fertilize. This gave me a good starting point to revive my lawn and maintain it. I wanted to be able to fertilize, aerate, and cross seed my lawn myself, so I was going to need a few things.
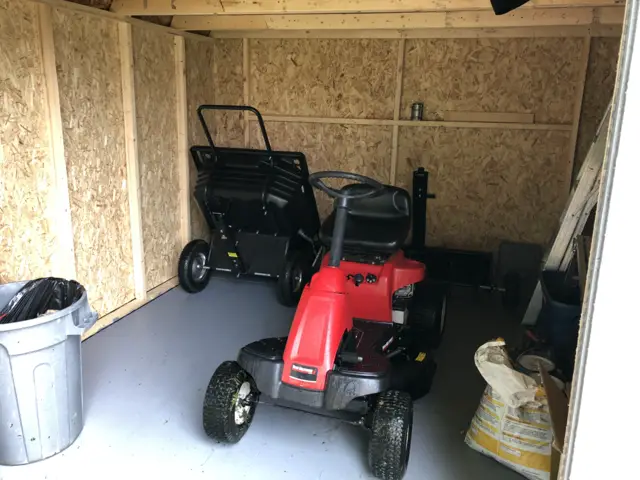
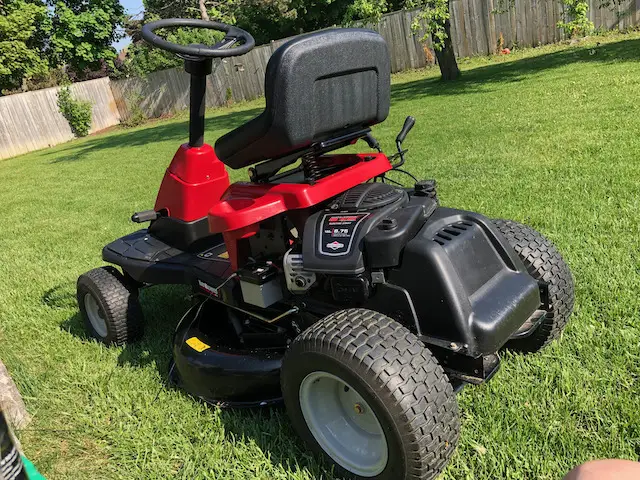
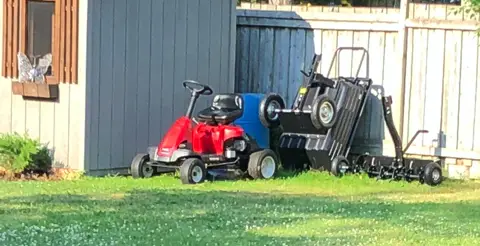
A bigger lawnmower to start. Our yard isn’t GIANT, but it’s big enough that it takes 2-3 hours to complete the whole job with a push mower, and lucky me, I found a small rear engine riding mower for sale in my neighborhood.
To haul stuff around the yard, I found this dump cart. What I really liked about this one is I can use it as a wheelbarrow and pull it around with the handle, or I can flip the tongue out, and pull it behind the lawnmower (sort of). Most riding mowers are bigger than this one making it a perfect size for our suburban yard. It also didn’t come with things like a hitch. So I made one out of some metal brackets I found.
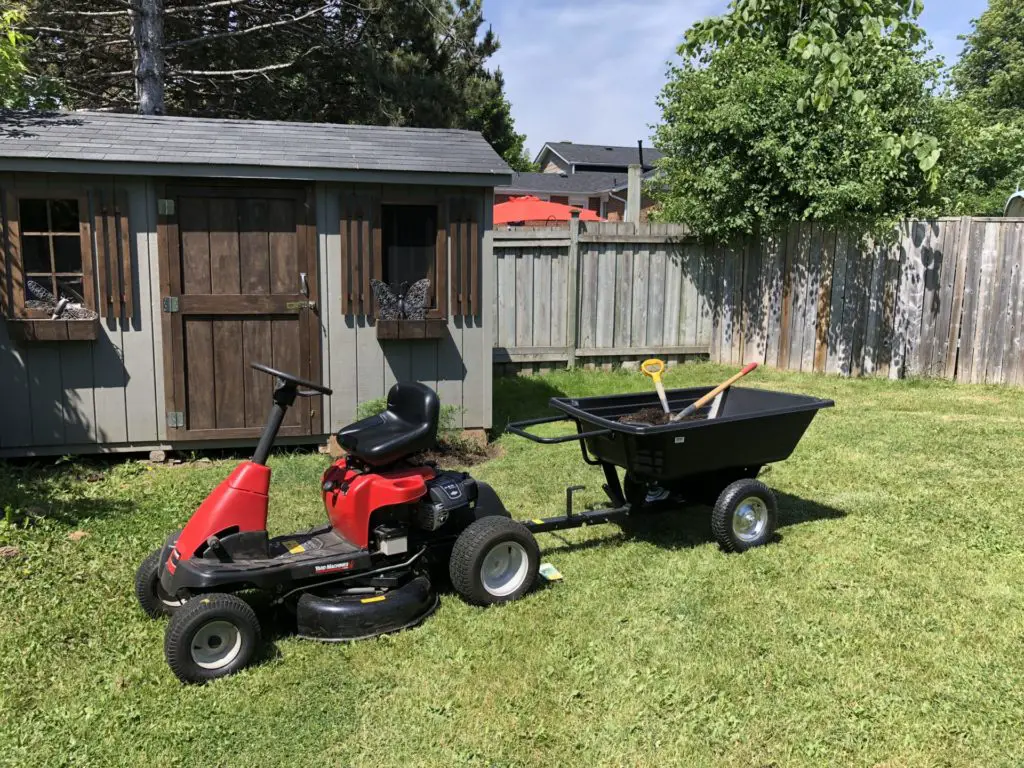
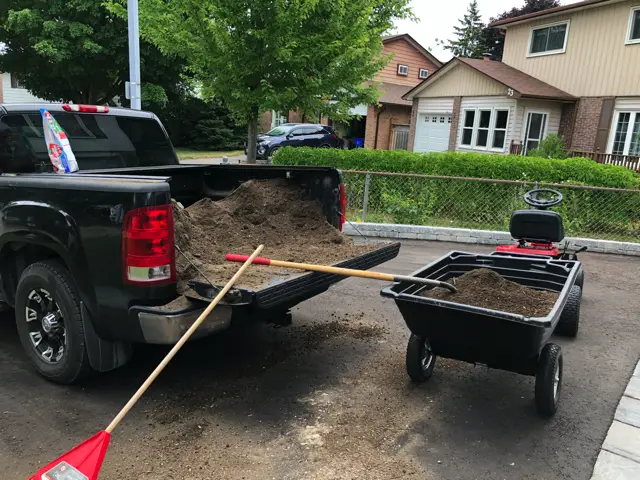
Now i can haul stuff around the yard easily. I throw a piece of plywood over it when I need a mobile workbench. It’s also great for moving firewood, and unloading stuff from the truck.
I was also lucky enough to find a used tow-behind aerator for sale locally, and it works great with my home made hitch.
Lawn Maintenance
That completed the arsenal of lawn equipment. Now I can fix my crappy backyard myself. With the aerator attached to my mower and 2-4 concrete deck blocks on top for the weight (less when the soil is moist), I can aerate the lawn in about 30 minutes. I have been doing this a few times a year now. The aerator punches holes in the soil and takes out little “plugs” about 2-3″ long. This is supposed to allow the roots more room to grow. They get compacted over time and that slows down growth. In the spring and fall, I will also cross seed the lawn after aerating it. Cross seeding is basically throwing a bunch of grass seed and soil on top of the grass. The new seed has soil to root to, and the soil has nutrients to feed the existing lawn and retain some moisture. Here is a great video on fixing a crappy lawn.
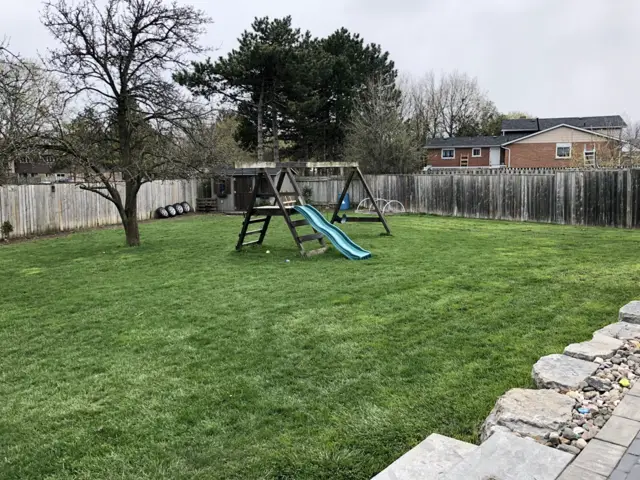
This is after 2 years of cross seeding and aerating. The main lawn area is much thicker now. We still get some weeds, but the thick grass keeps them from spreading.
Gardening
With our new patio in place, we could now add in our flower beds around the side of the patio retaining stones, and along the side of the house. I cut a natural curve pattern from the corner of our patio, all the way around the house to the side gate. The beds are 3 feet wide at the widest part. We topped them up with fresh soil and mulch, and have tried a bunch of different plants in there over the years. Small shrubs have been most successful. Unfortunately, most of the beautiful cedars in the picture below didn’t make it.
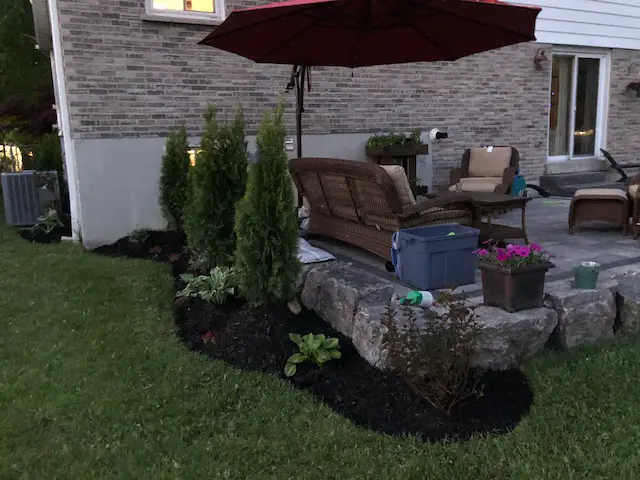
I love the contrast of dark rich soils, colorful plants and lush green grass.
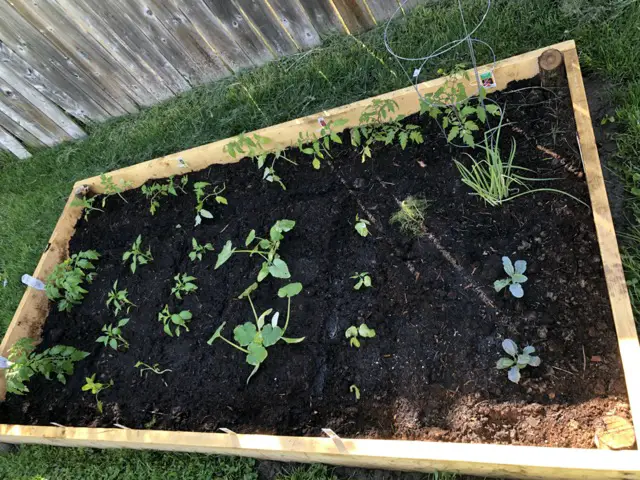
I also added a small bed for a veggie garden. This garden is only 4 feet by 6 feet, but it’s a start. Framing the garden is 2×6 spruce lumber (non-pressure treated). I used some small logs from a tree as stakes and pounded them into the ground about 18″, then I attached the 2×6 frame to the logs. This little garden has received a few upgrades over the years. About 24 hours after planting what you see here, bunnies completely cleaned out my crop. Thankfully Nonno had more tomatoes and peppers so the garden wouldn’t be a total bust. To solve this I bought a giant roll of chicken wire and wrapped it around my garden (too ugly for pics).
Hope you loved this journey so far.. you’ll probably also enjoy these budget friendly back yard makeovers from extraspace.com too.

