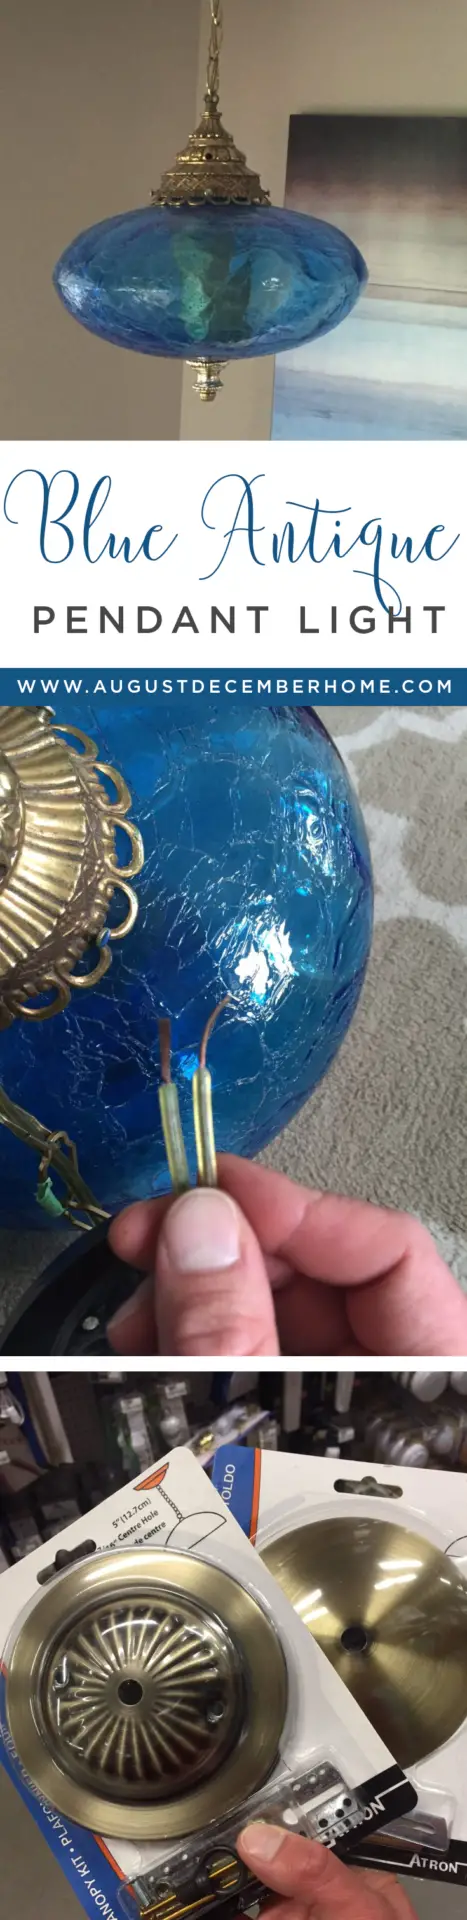

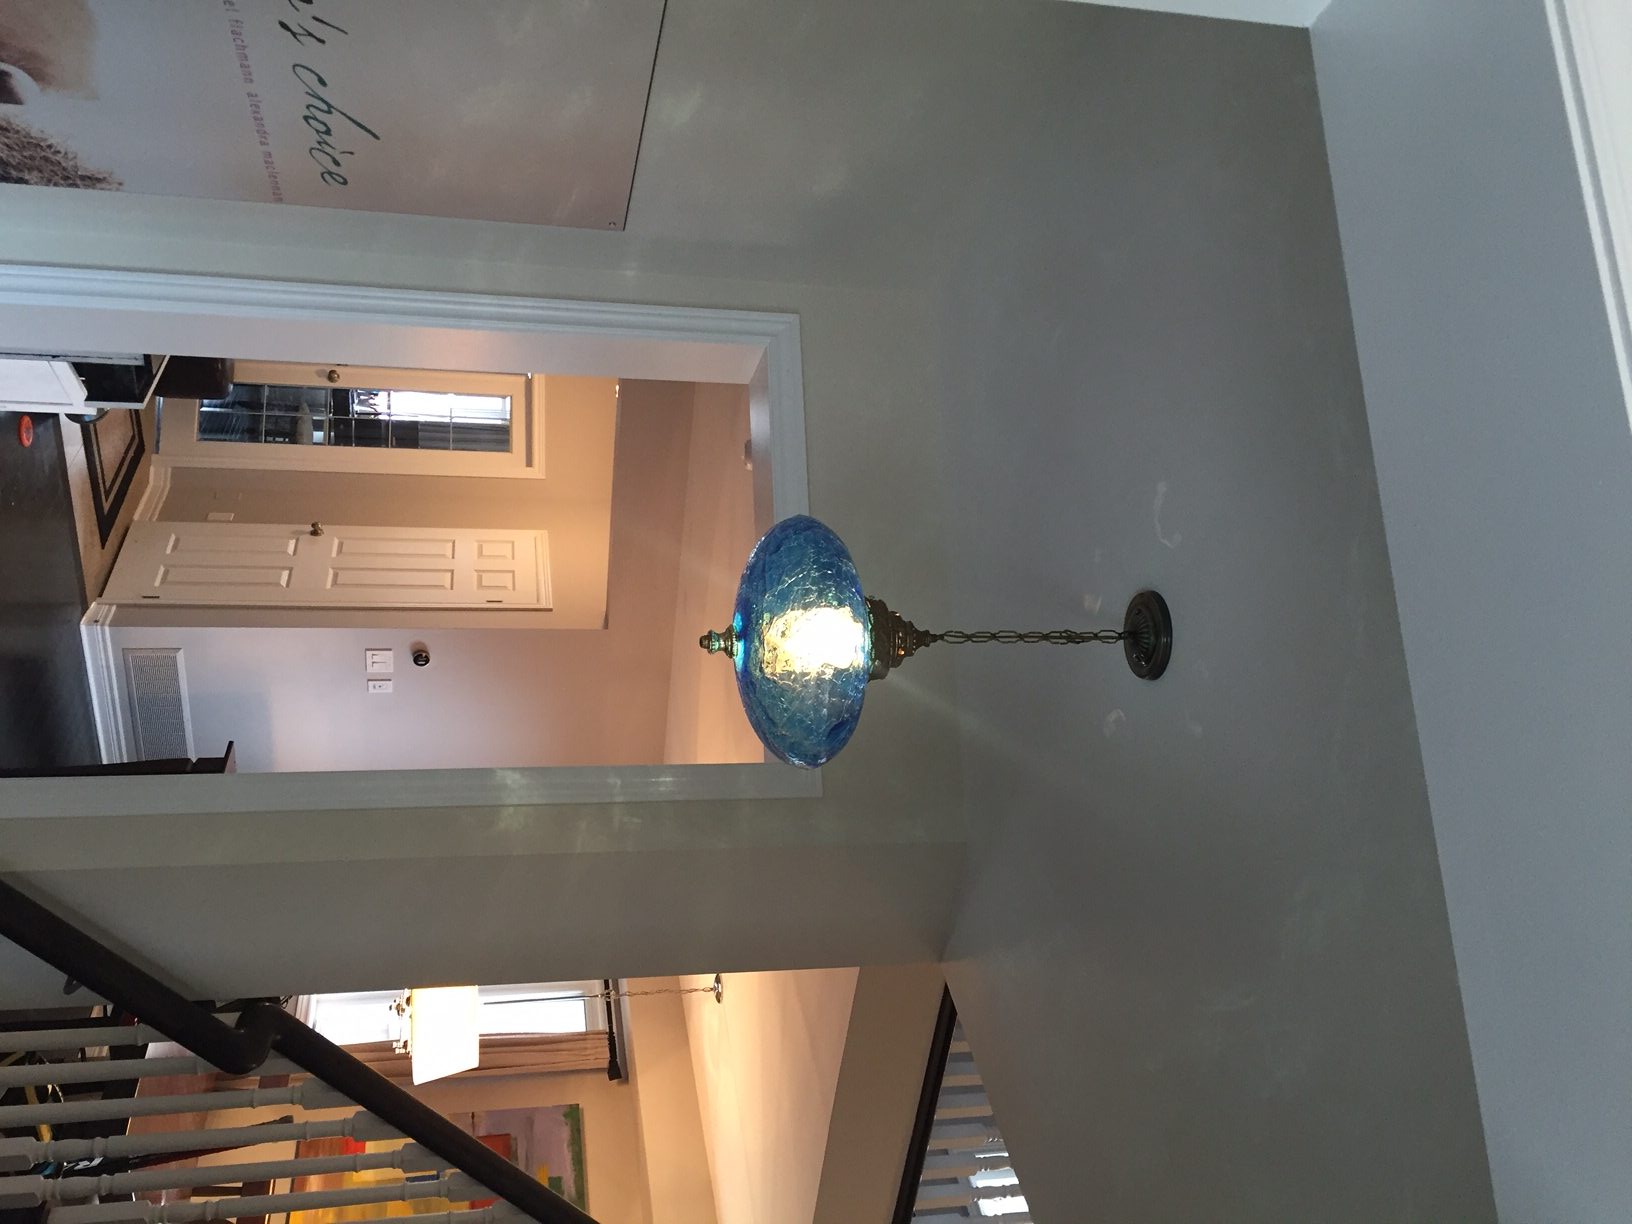
So a few months ago my hubby was searching for a interesting light for this little alcove area near the staircase in our home we’ve been living in for about 2 years now. He ended up finding a fabulous Blue Antique Brass Pendant Light in the classifieds, which had a chain linked cord and an off-on switch tassel at the base.
It was the type of hanging lamp that you could plug in the wall and then ceiling “mount” it with a hook over a reading chair or sofa. This was the style back in the day I guess. So obviously that wasn’t going to work for our purpose in our alcove area so my handy hubby converted it to a proper ceiling mount light.
Antique Brass Pendant Light

Here’s how he installed our Blue Antique Brass Pendant Light:
First, he went to our local hardware store and picked up a Canopy Kit. These kits are great when restoring lighting like chandeliers or antique fixtures.
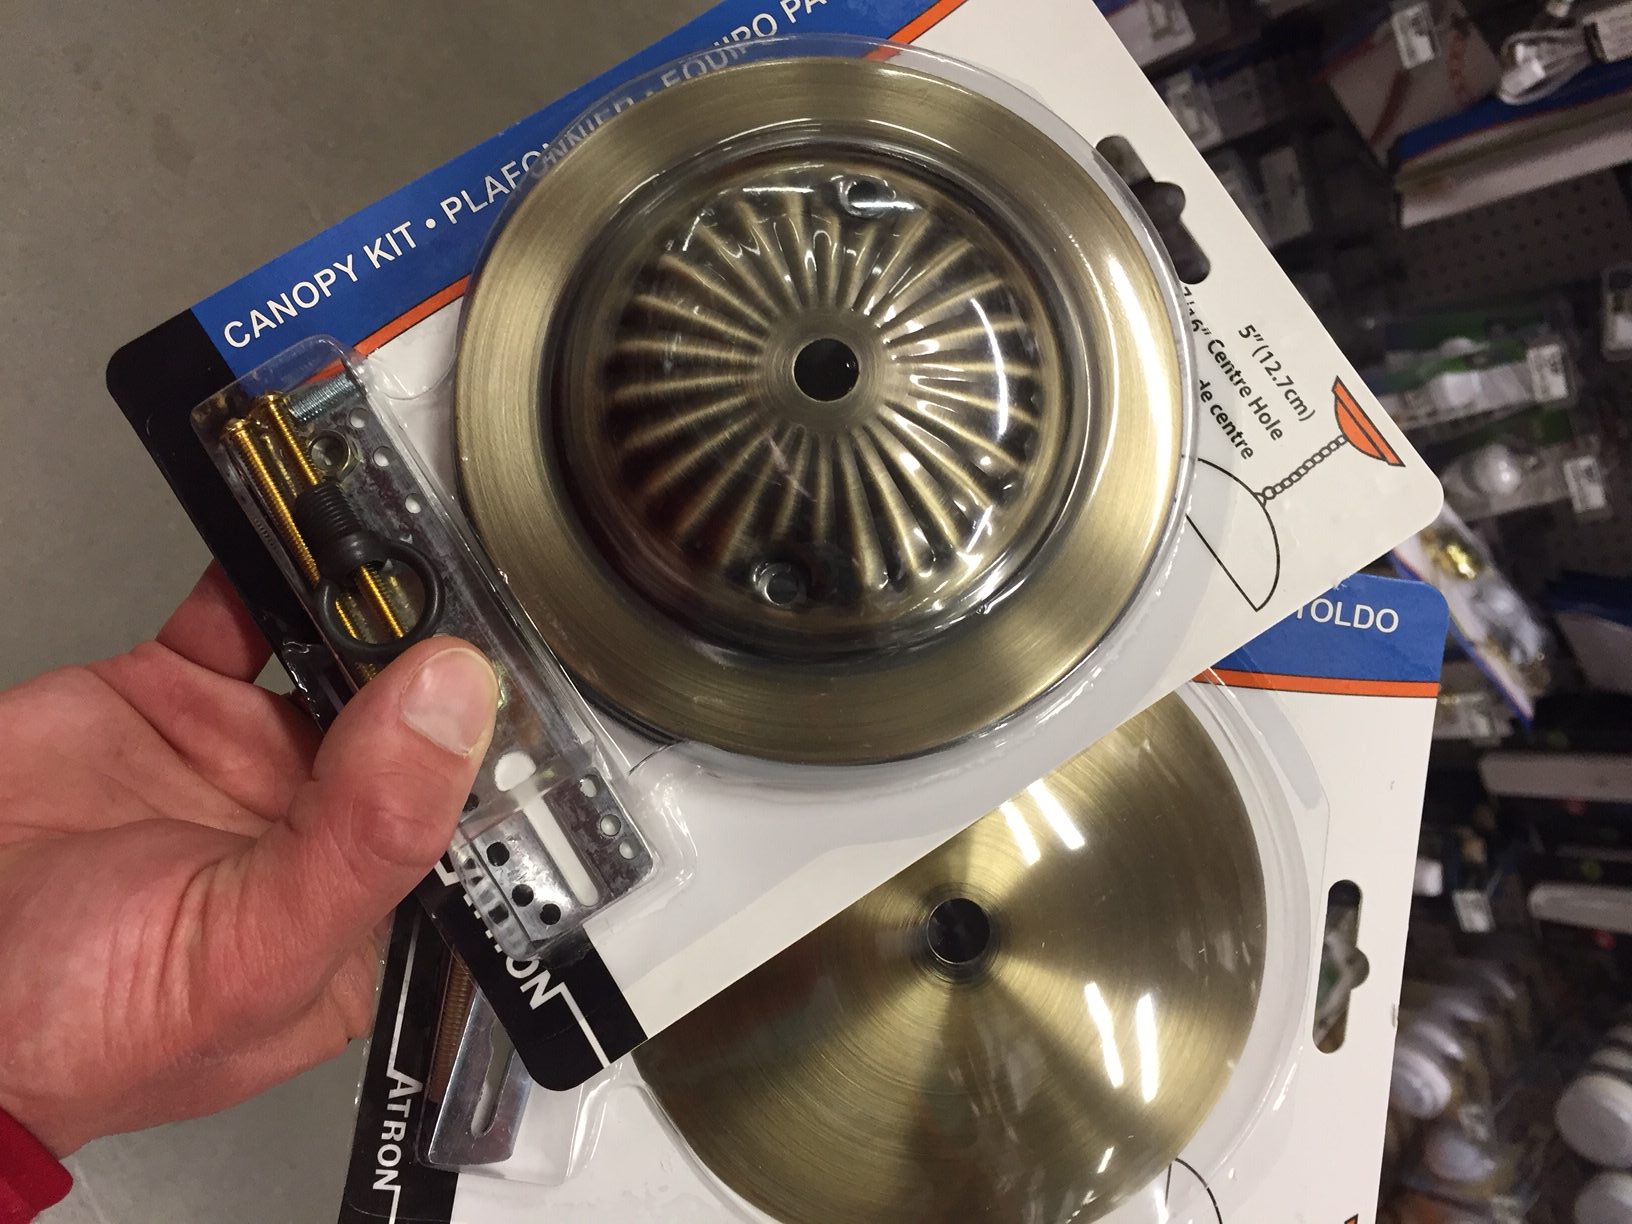
The canopy kit comes with a mounting bracket, chain loop, and long screws. It will fit in place of any existing ceiling mounted light. this one is 5″ which is the same size as the existing light we are replacing.
We choose this rubbed brass looking canopy as it was the closest match to the brass. You can get a canopy in every colour and style imaginable now, which makes it much easier to find a match for your DIY ceiling lights.
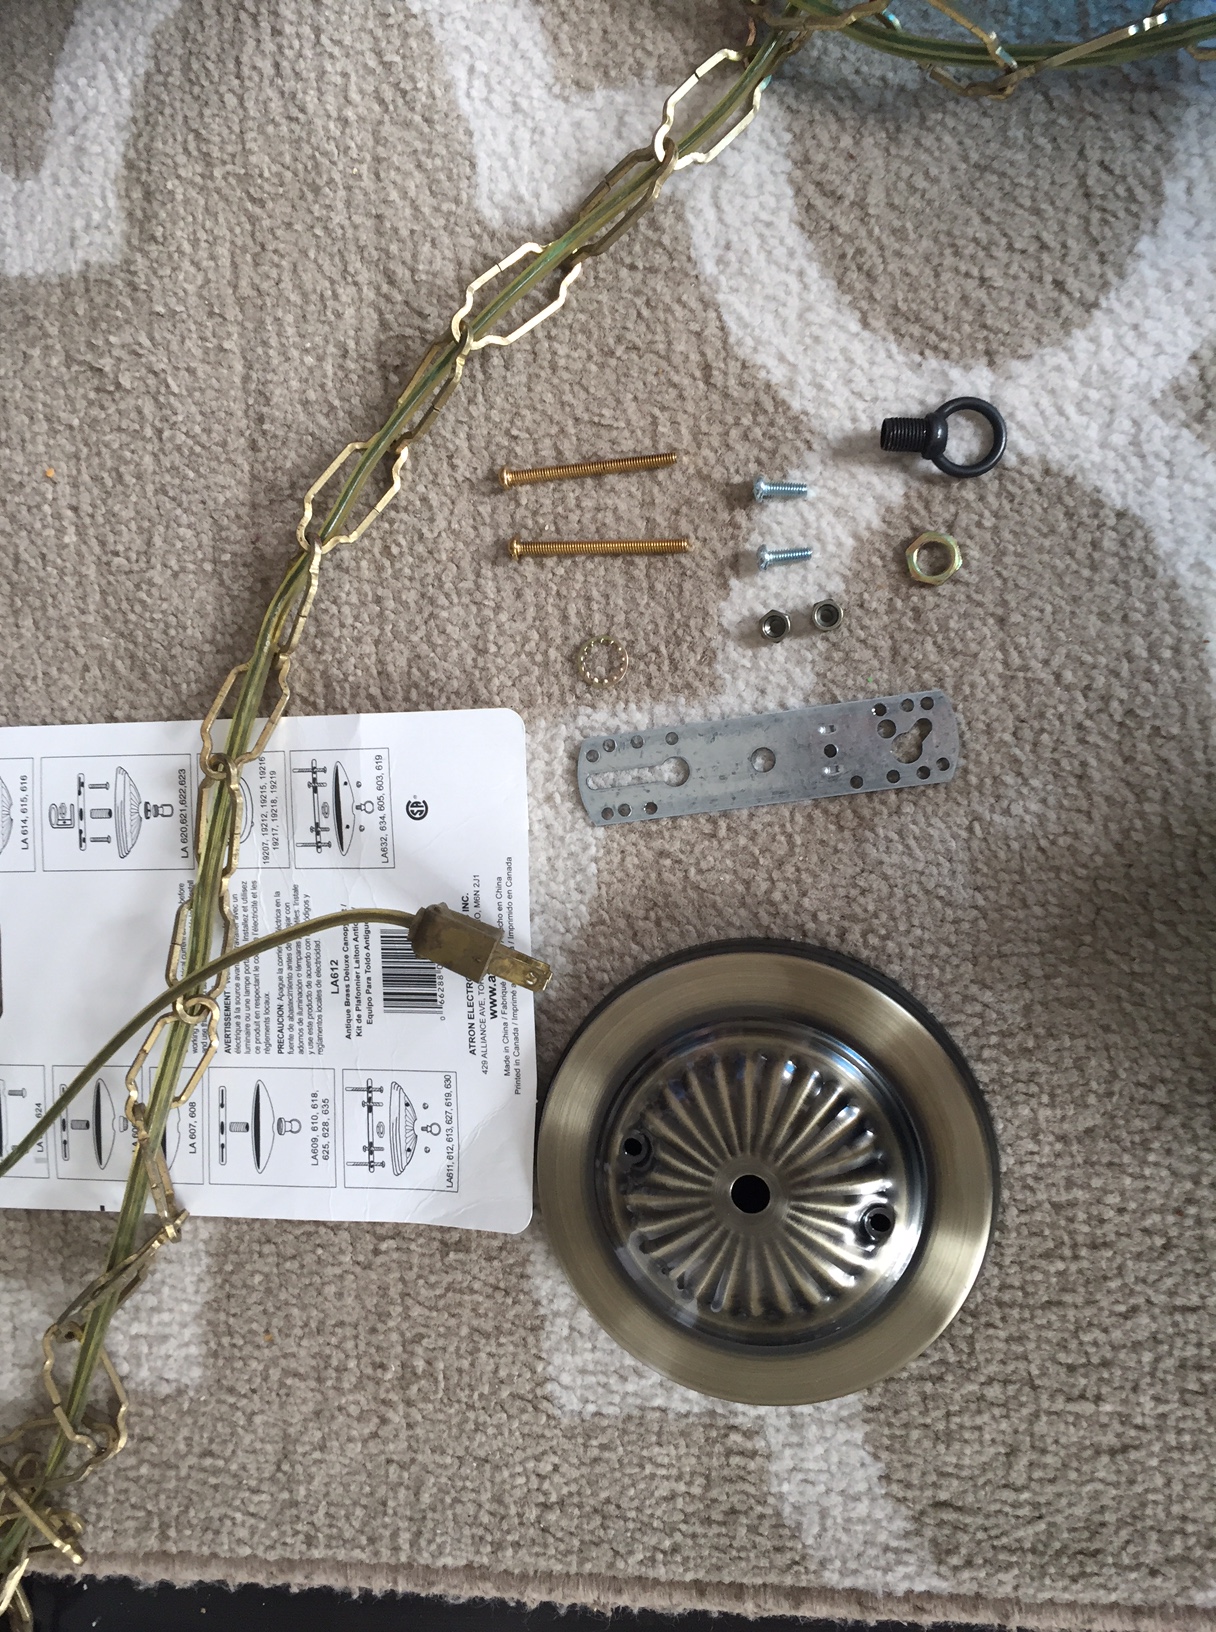
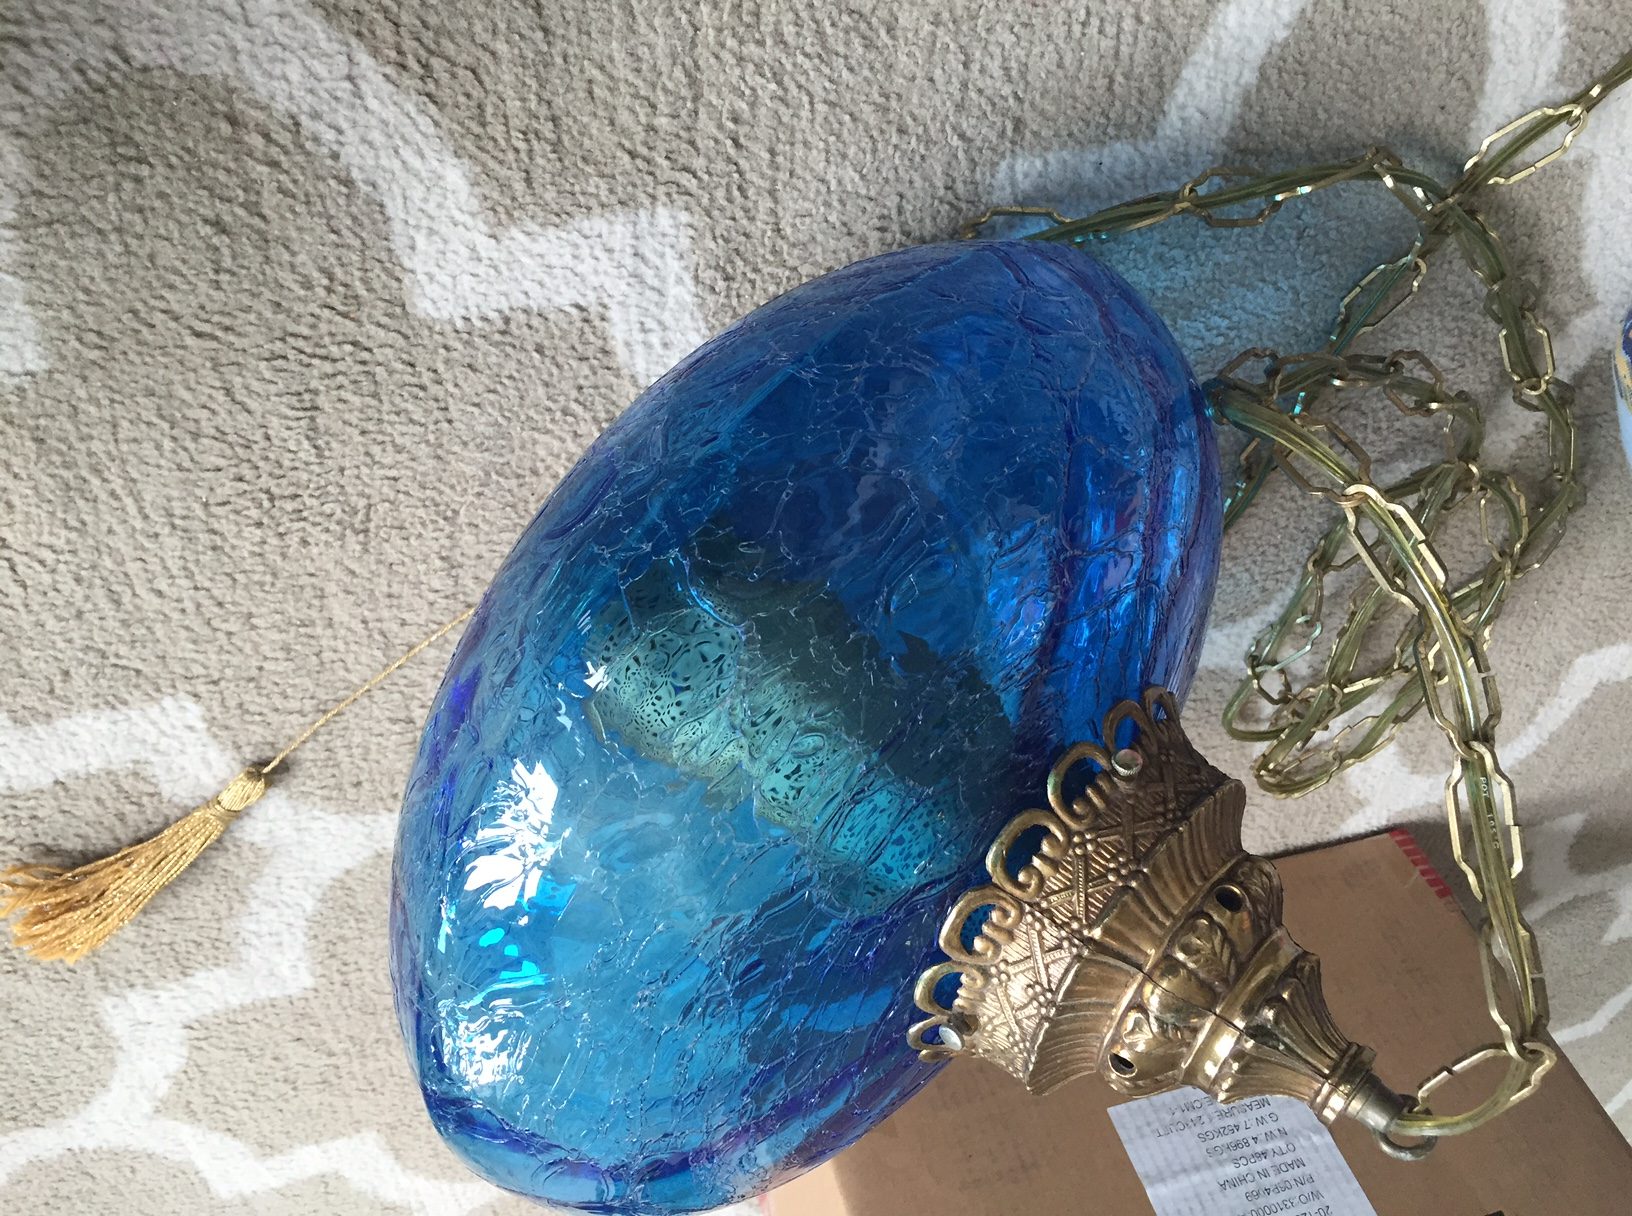
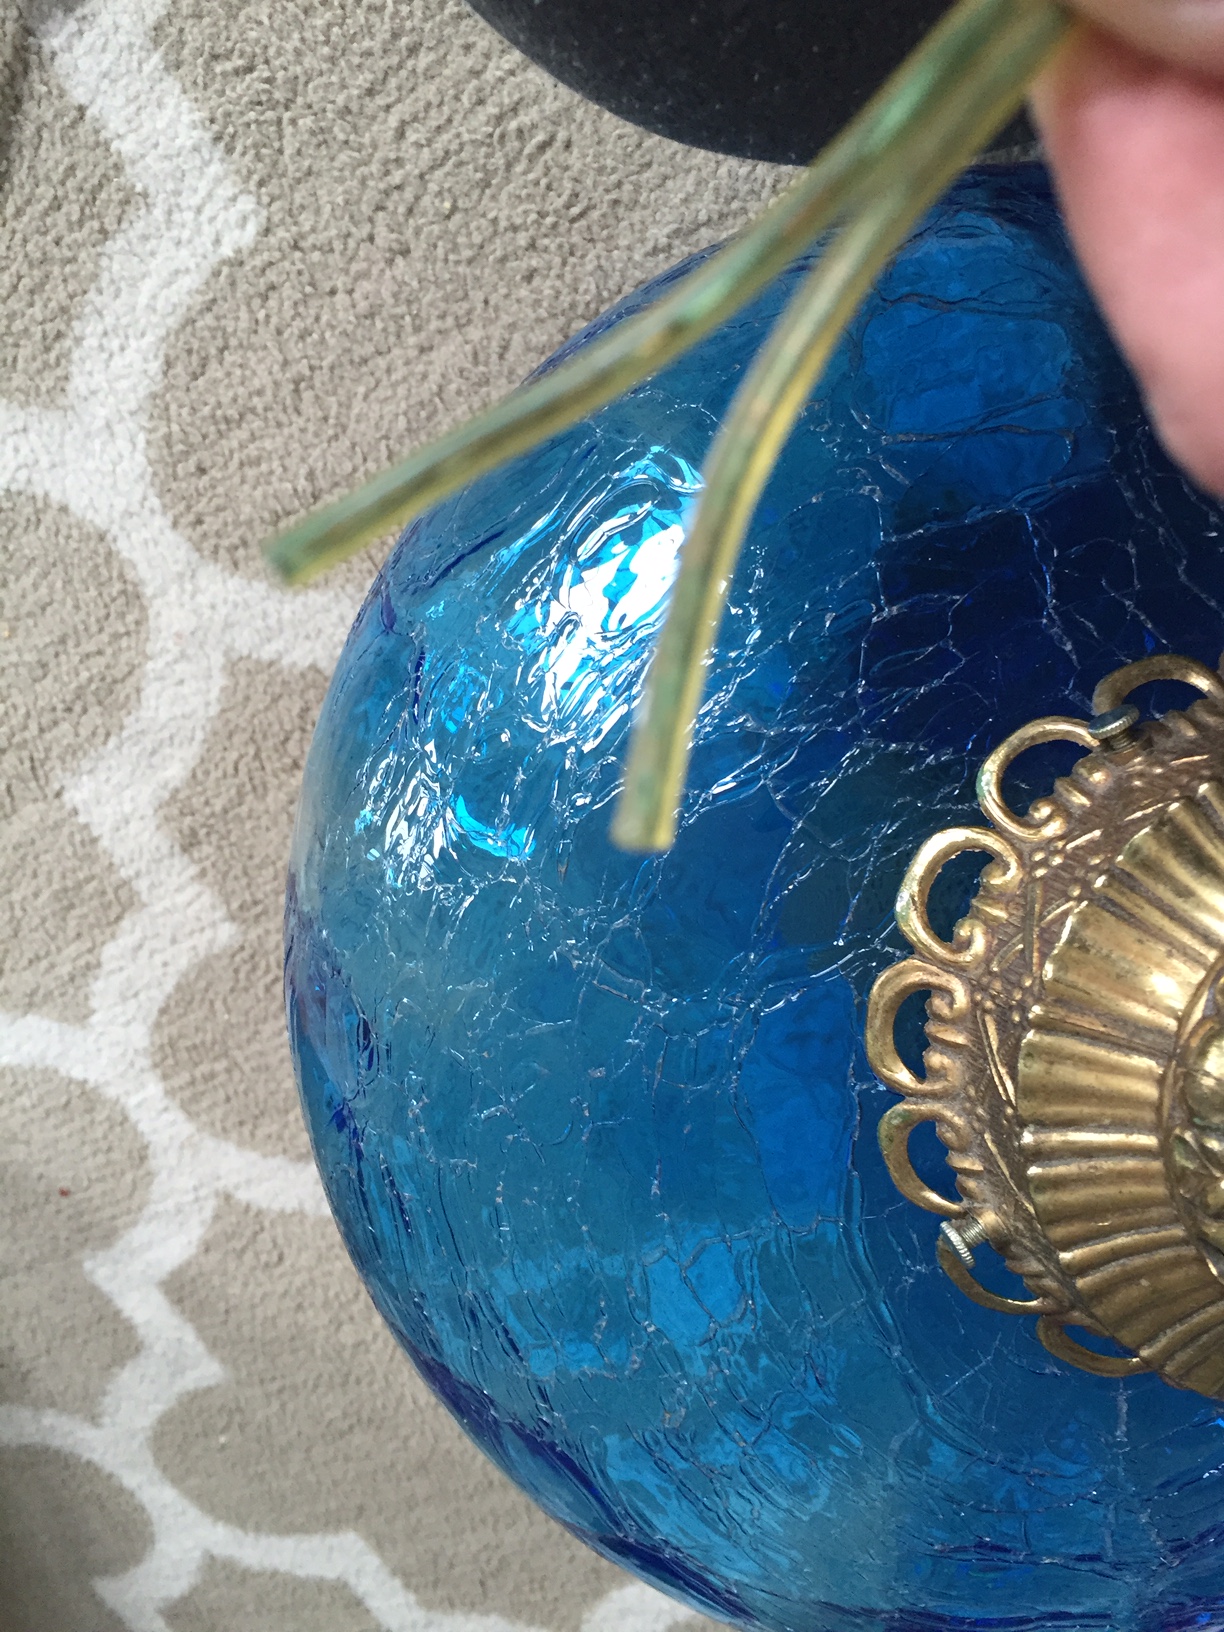
Step 1) Layout all the parts you will need. Our antique glass light was designed to be plugged into a standard outlet and operated with a pull chain.
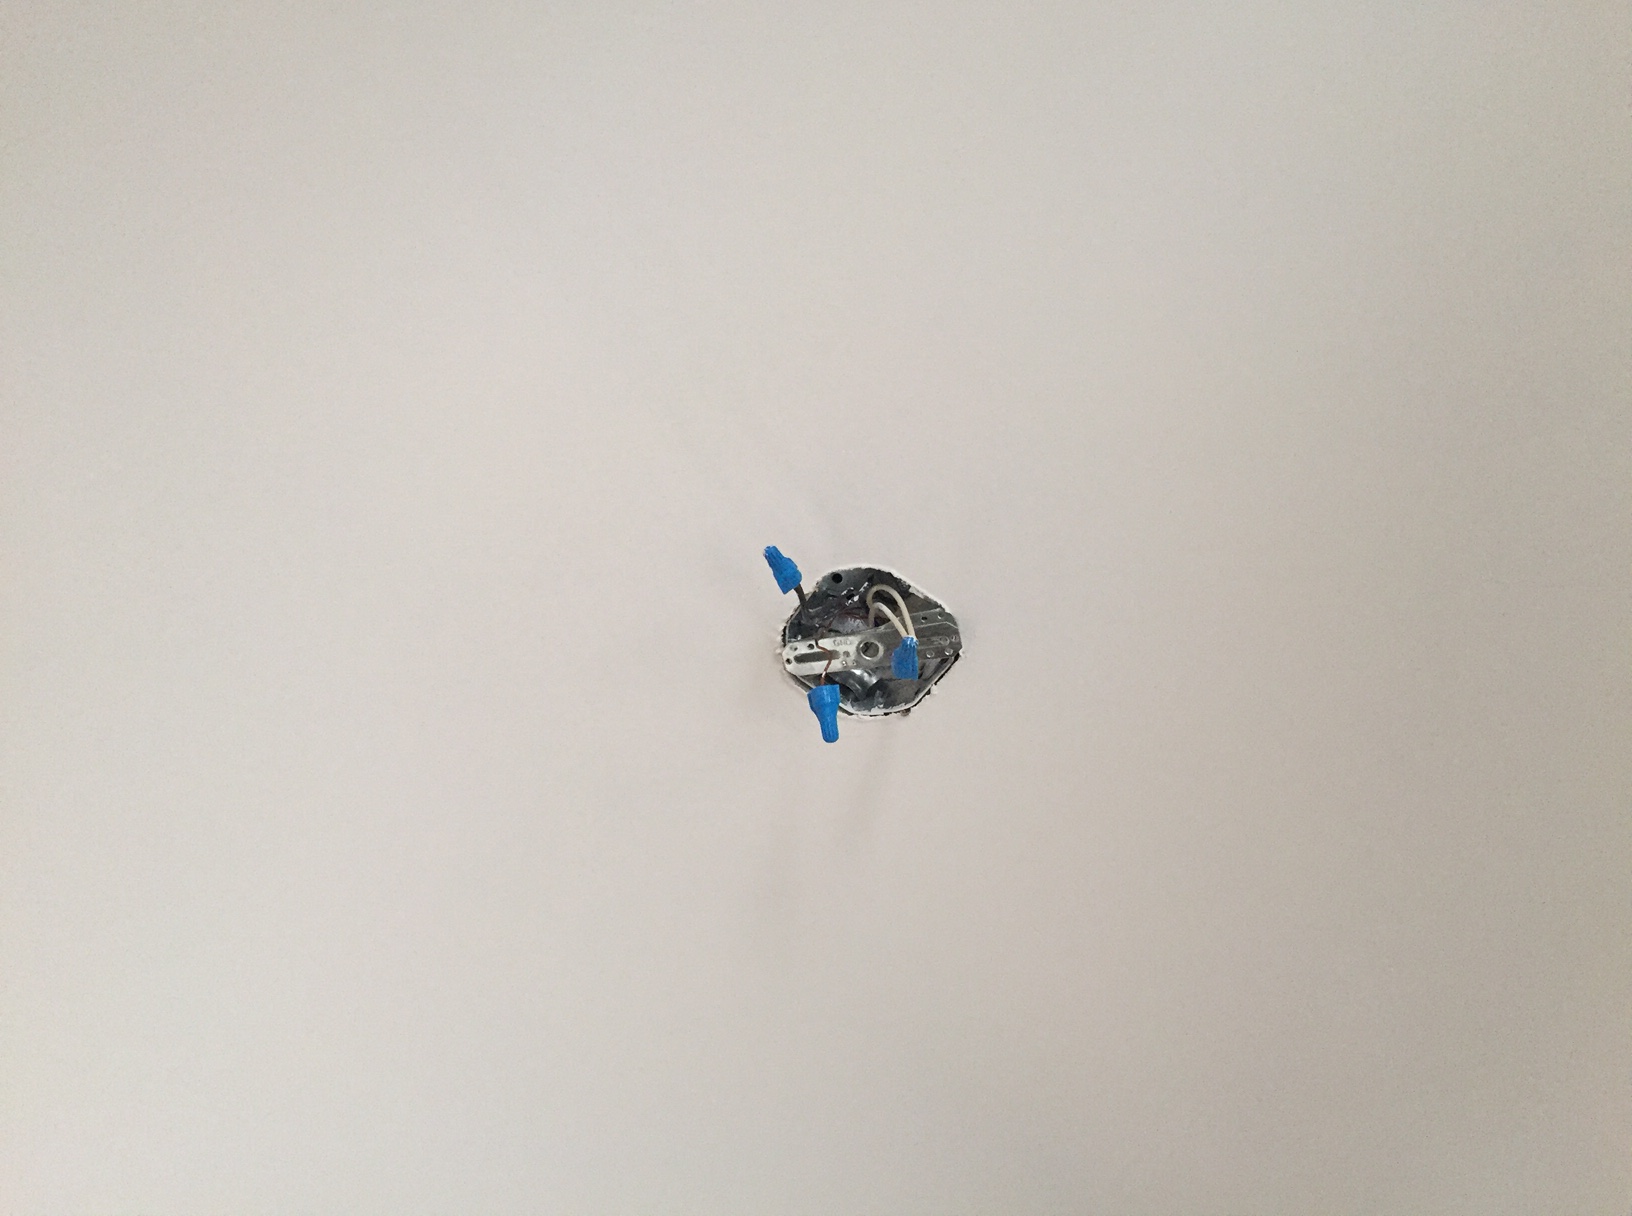
Remove the original light from the ceiling so you are left with the electrical box and wires. *Hint – Turn off the power so you don’t get zapped. If your light had a ground wire connected to it; this is usually the bare wire with no insulation; you will need to make sure it is attached to the electrical box, or mounting bracket, if your new light only has 2 wires.
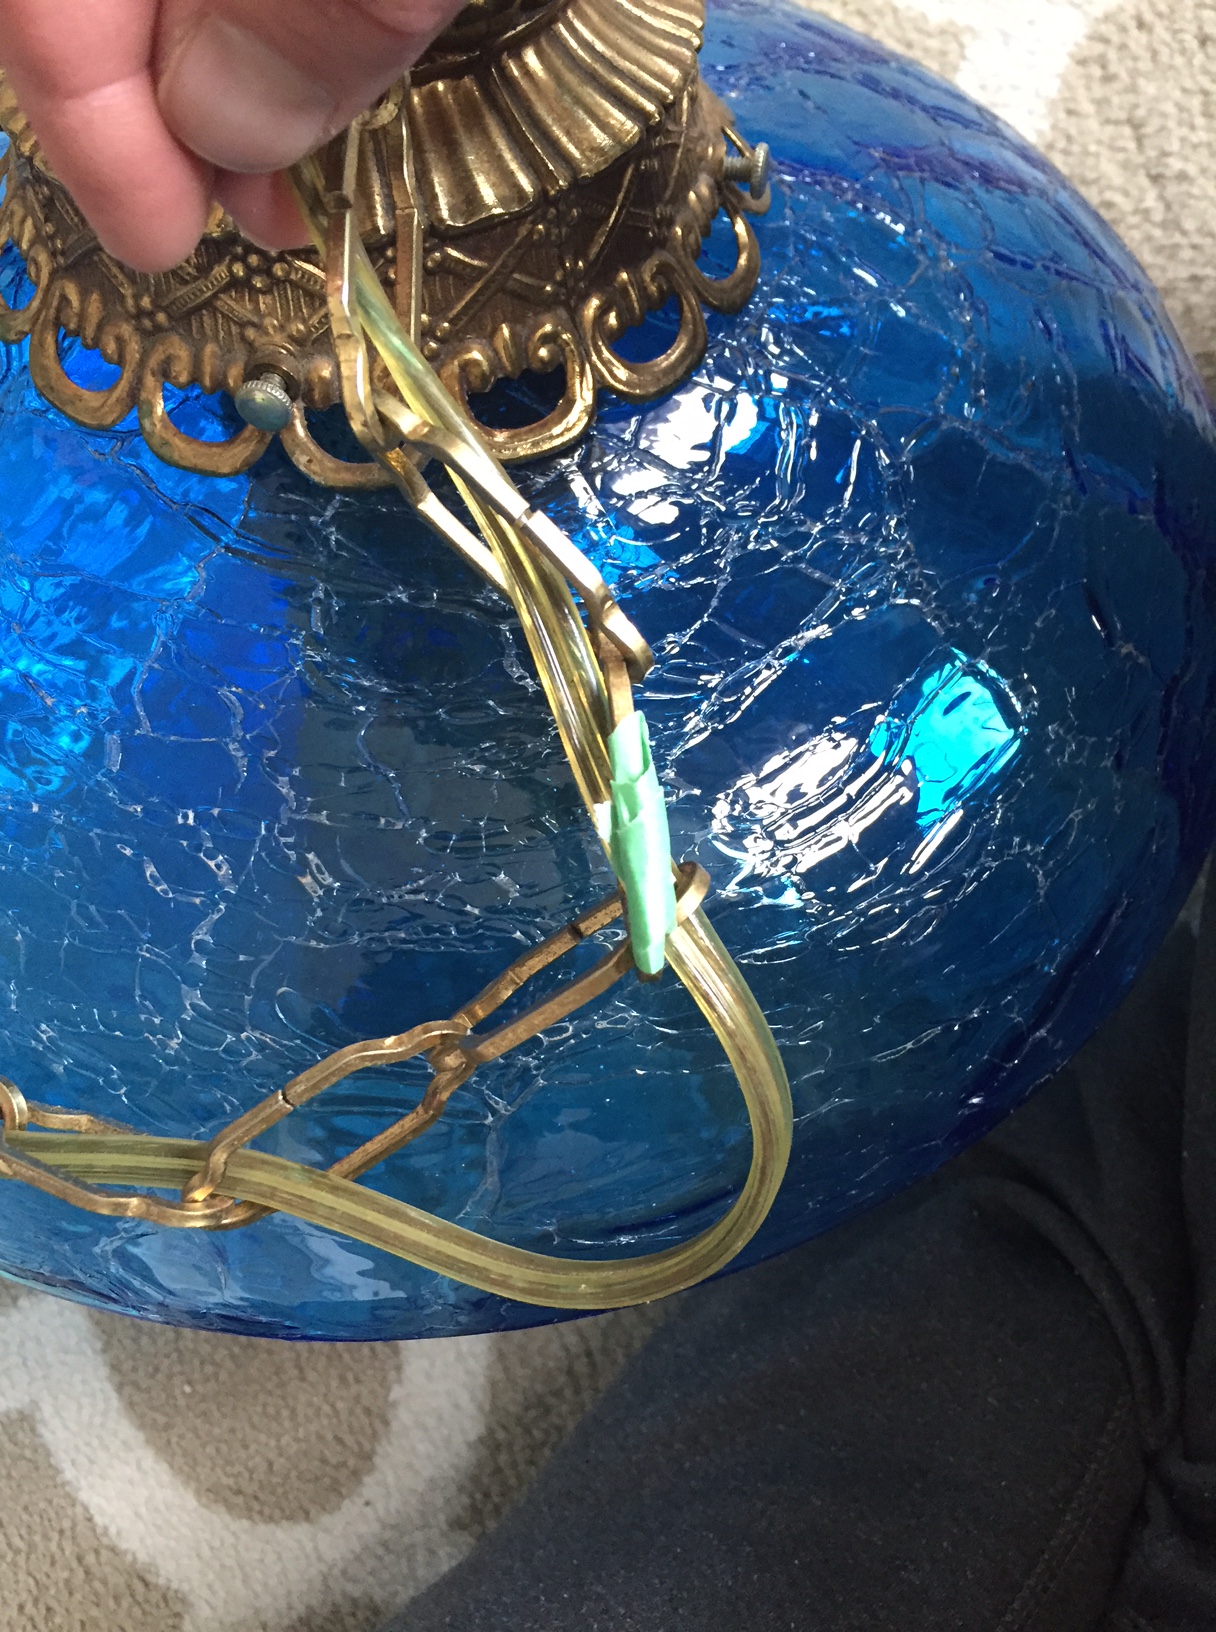
Step 2) Identify how long your light will need to be by measuring the light and chain. Mark the chain with a piece of tape once you have found the correct length. Leave a bit of extra length if you like so the chain has a bit of slack. This tends to look better than a very tight chain.
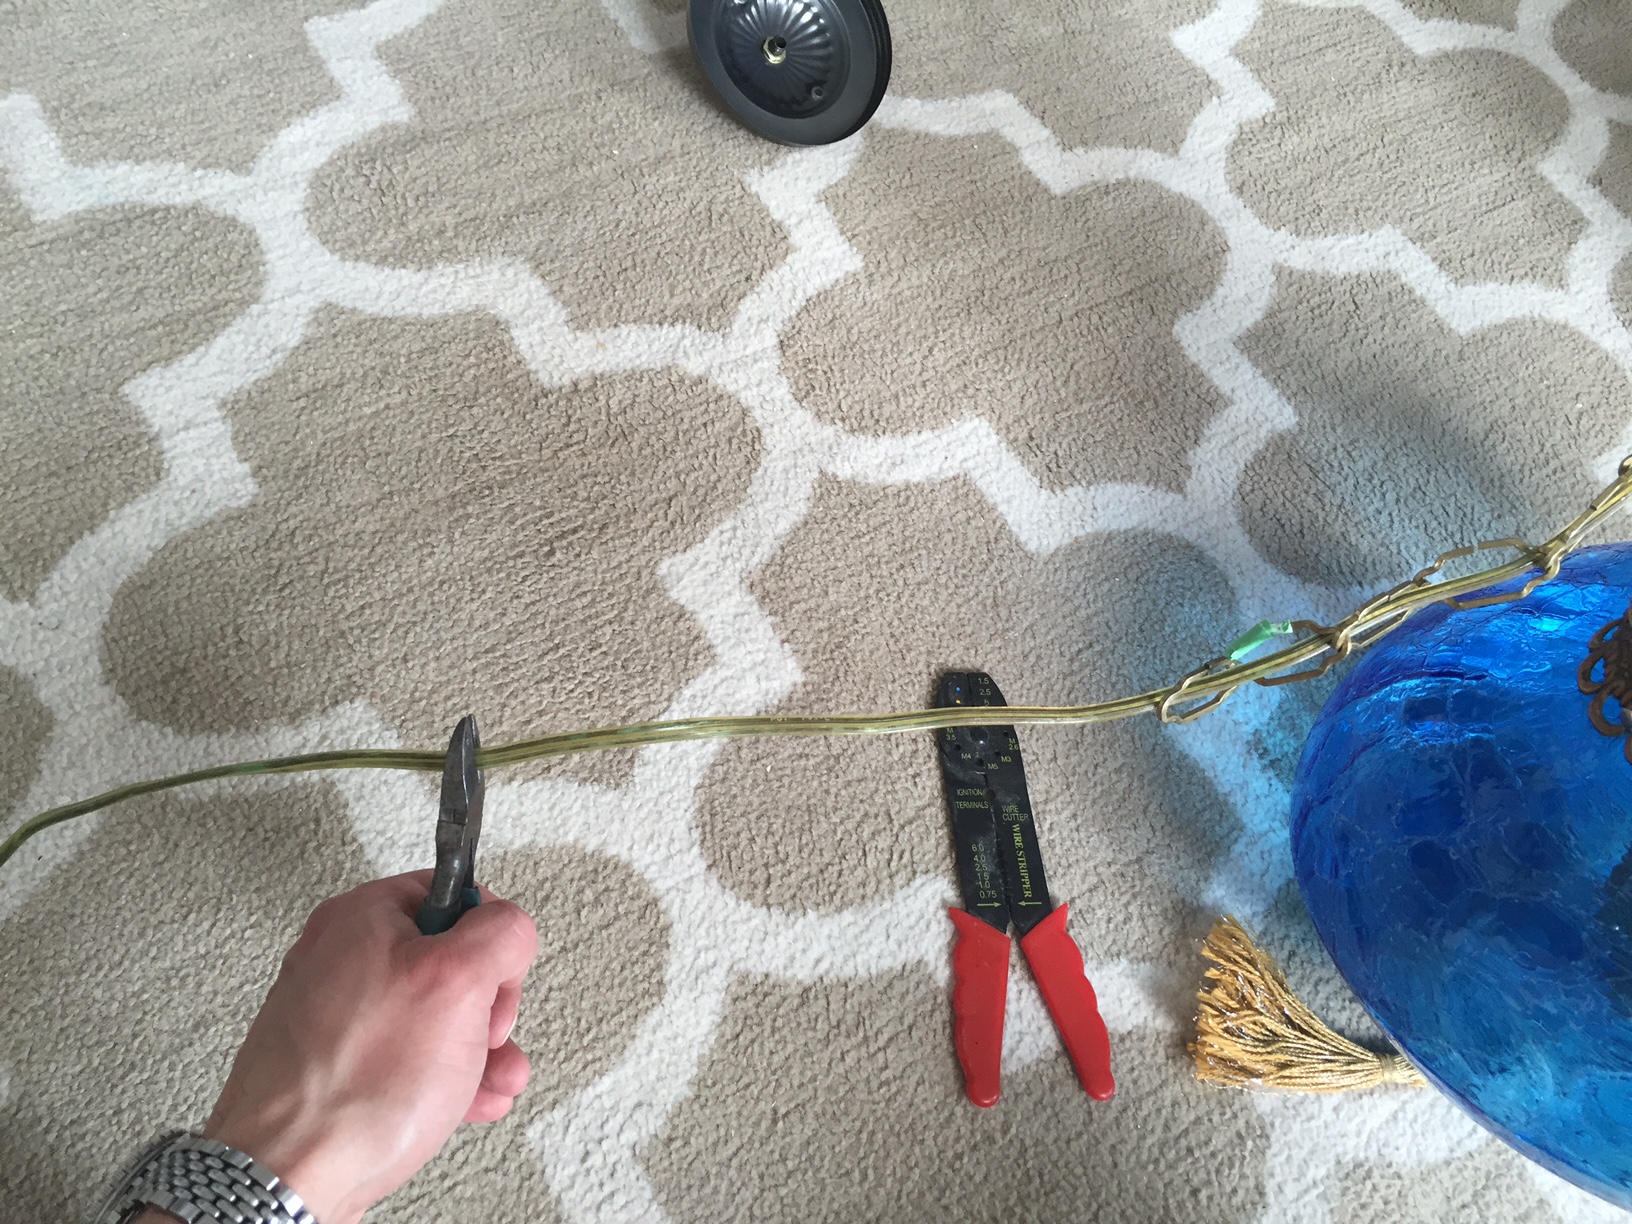
Step 3) Measure the length of cord you need so your light will hang at the right height. Leave a few extra inches so you can raise it up if you have to. It’s better to leave too much and shorten it than cut it too short and have your light hang too high. Once you’ve found the right length, cut the cord with a set of wire cutters.
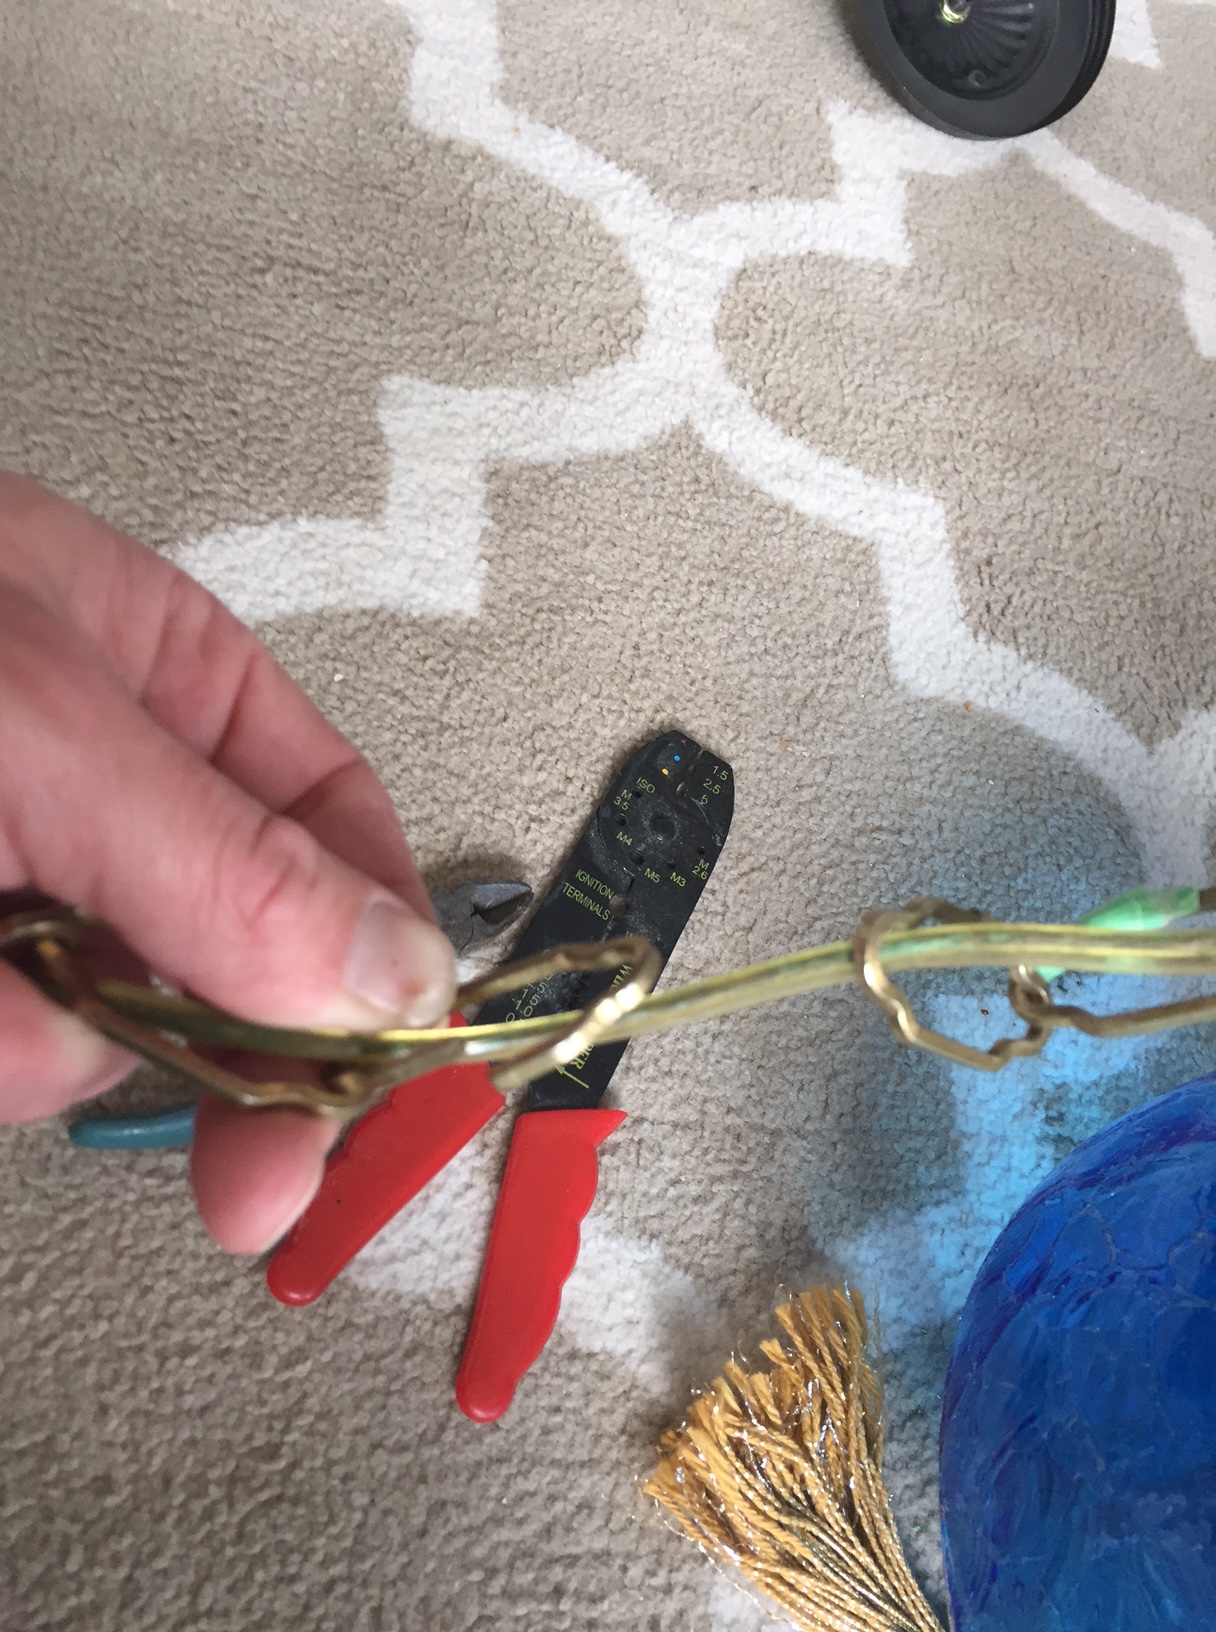
Step 4) To shorten the chain, find the cut in the link marked, and bend the link so you can slip the remaining chain out. I found it easiest to use a set of pliers and a screwdriver. Hold the chain securely with the pliers, and insert the screwdriver through the link. then twist the screwdriver and pliers in opposite directions separating the link. Save the bent link, you will need it later.
Step 5) Prepare the new canopy to hold the light. This involves mounting the loop to the canopy. I forgot to take a picture of this, but it’s pretty simple. Insert the loop into the hole in the canopy. On the inside, place the washer included with the kit, over the threads, followed by the nut, and tighten it up with your pliers (you can see what this looks like when it is finished in step 6). Then insert the cut end of the cord through the hole in the center of the canopy.
Step 6) Pull the cord through the center of the canopy so you have 4-5″ sticking out. you will need enough wire to work with so you can connect them to the electrical box.
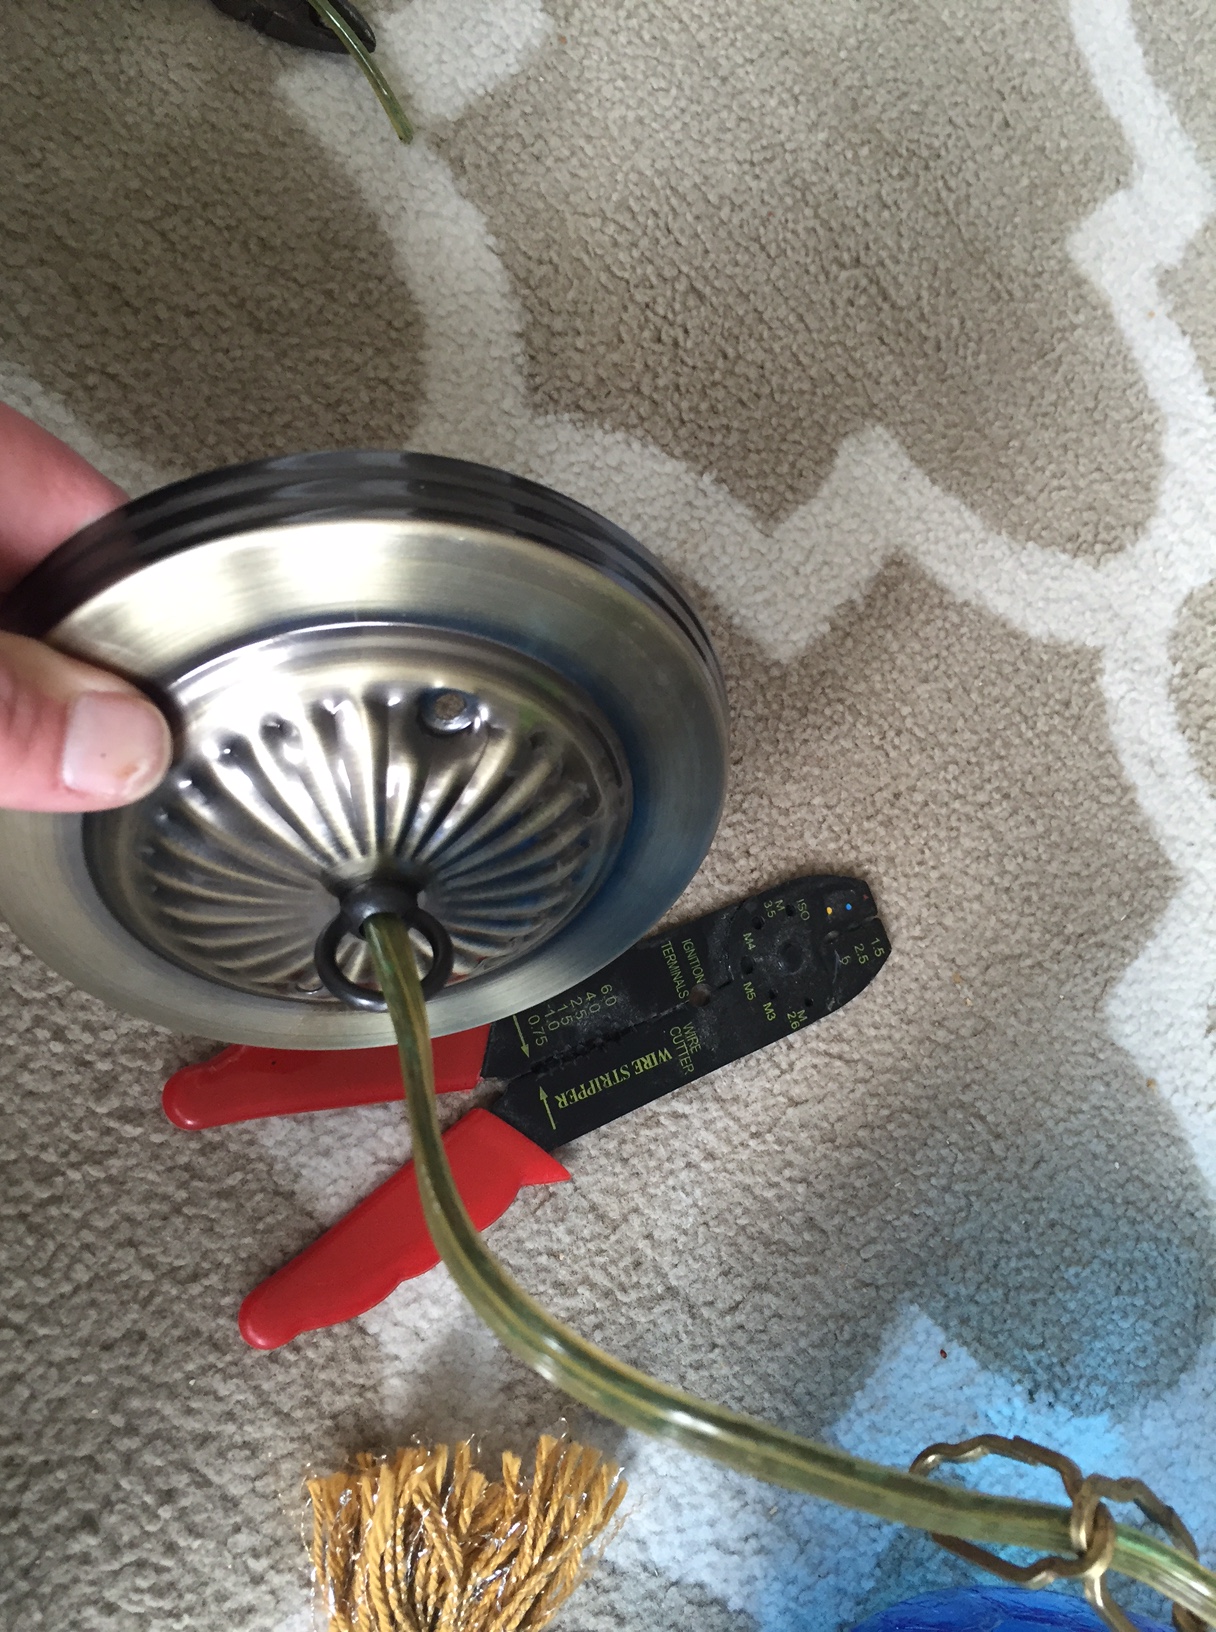
Step 7) Remember that bent link of chain from step 4? Use this link to connect the chain to the canopy, just hook it through the loop, then hook the chain onto it.
Step 8) Separate the 2 wires from each other so you have about 2-3″ to work with.
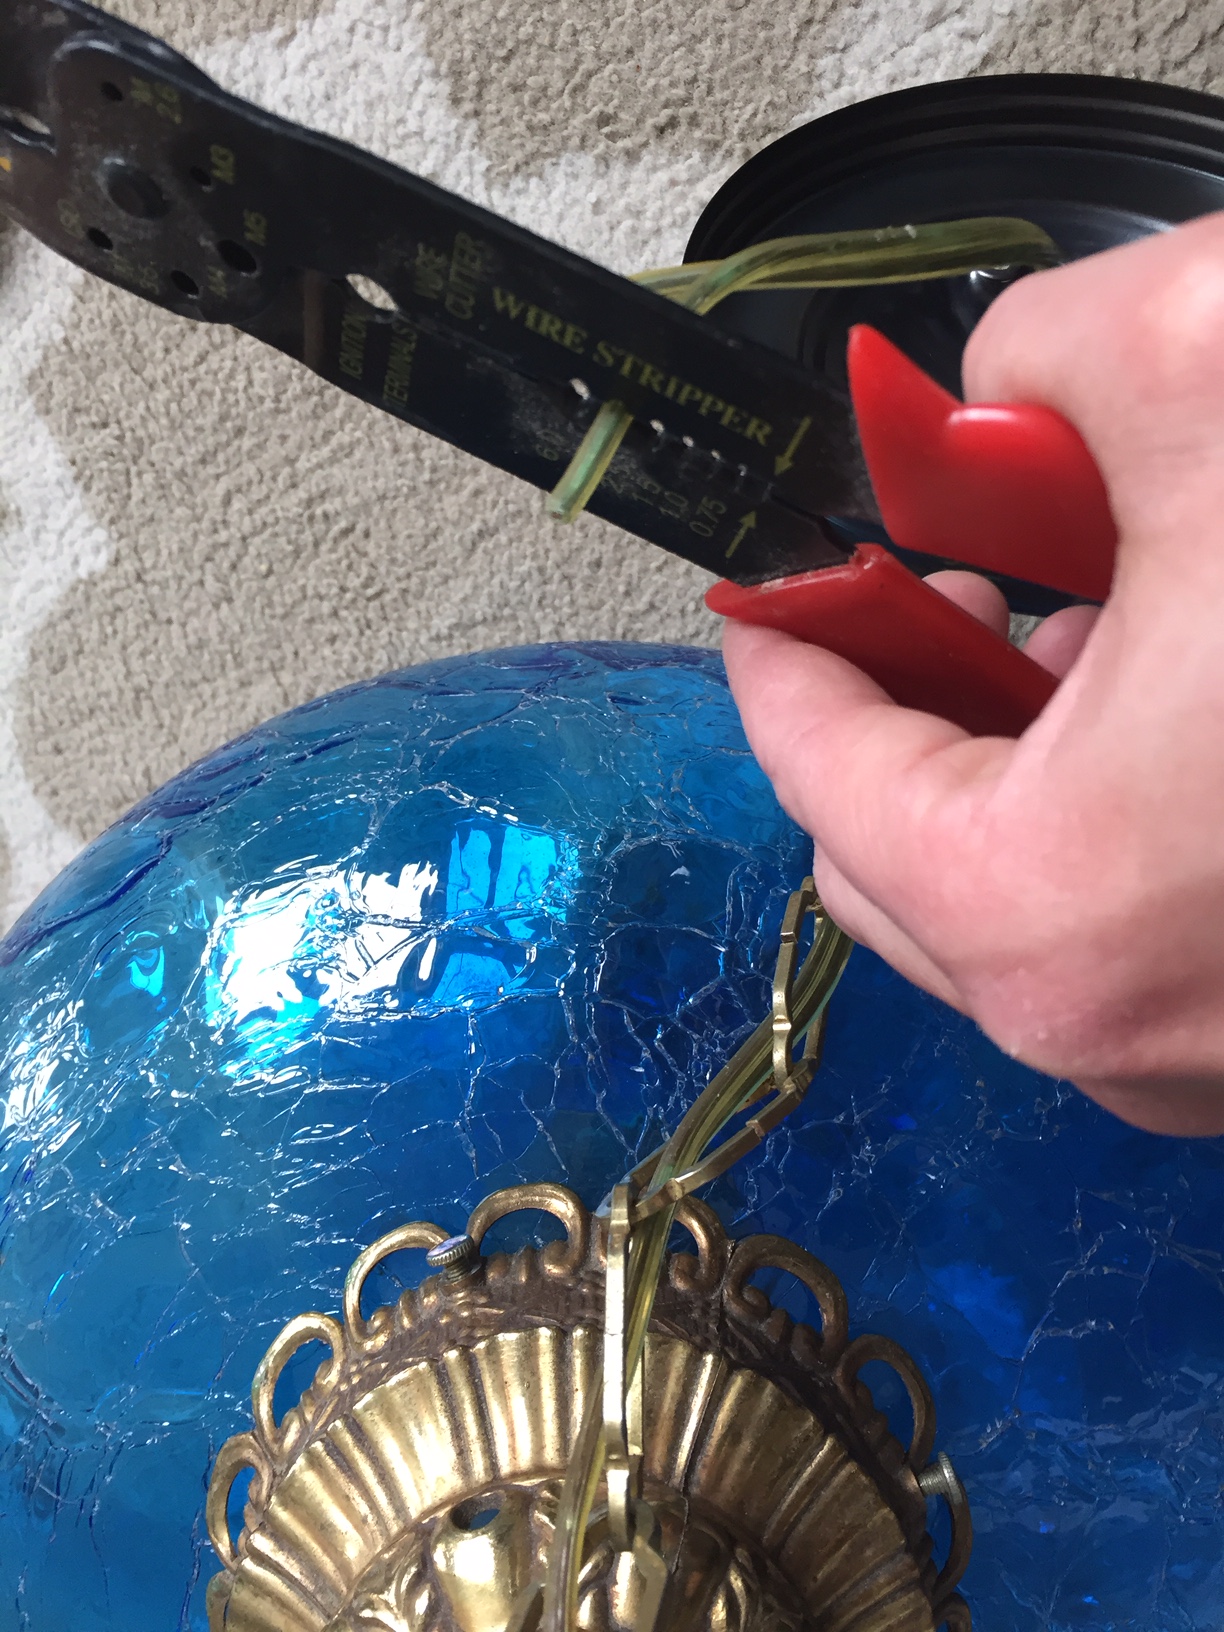
Step 9) Using a pair of wire strippers, strip about 1″ of insulation off each wire.
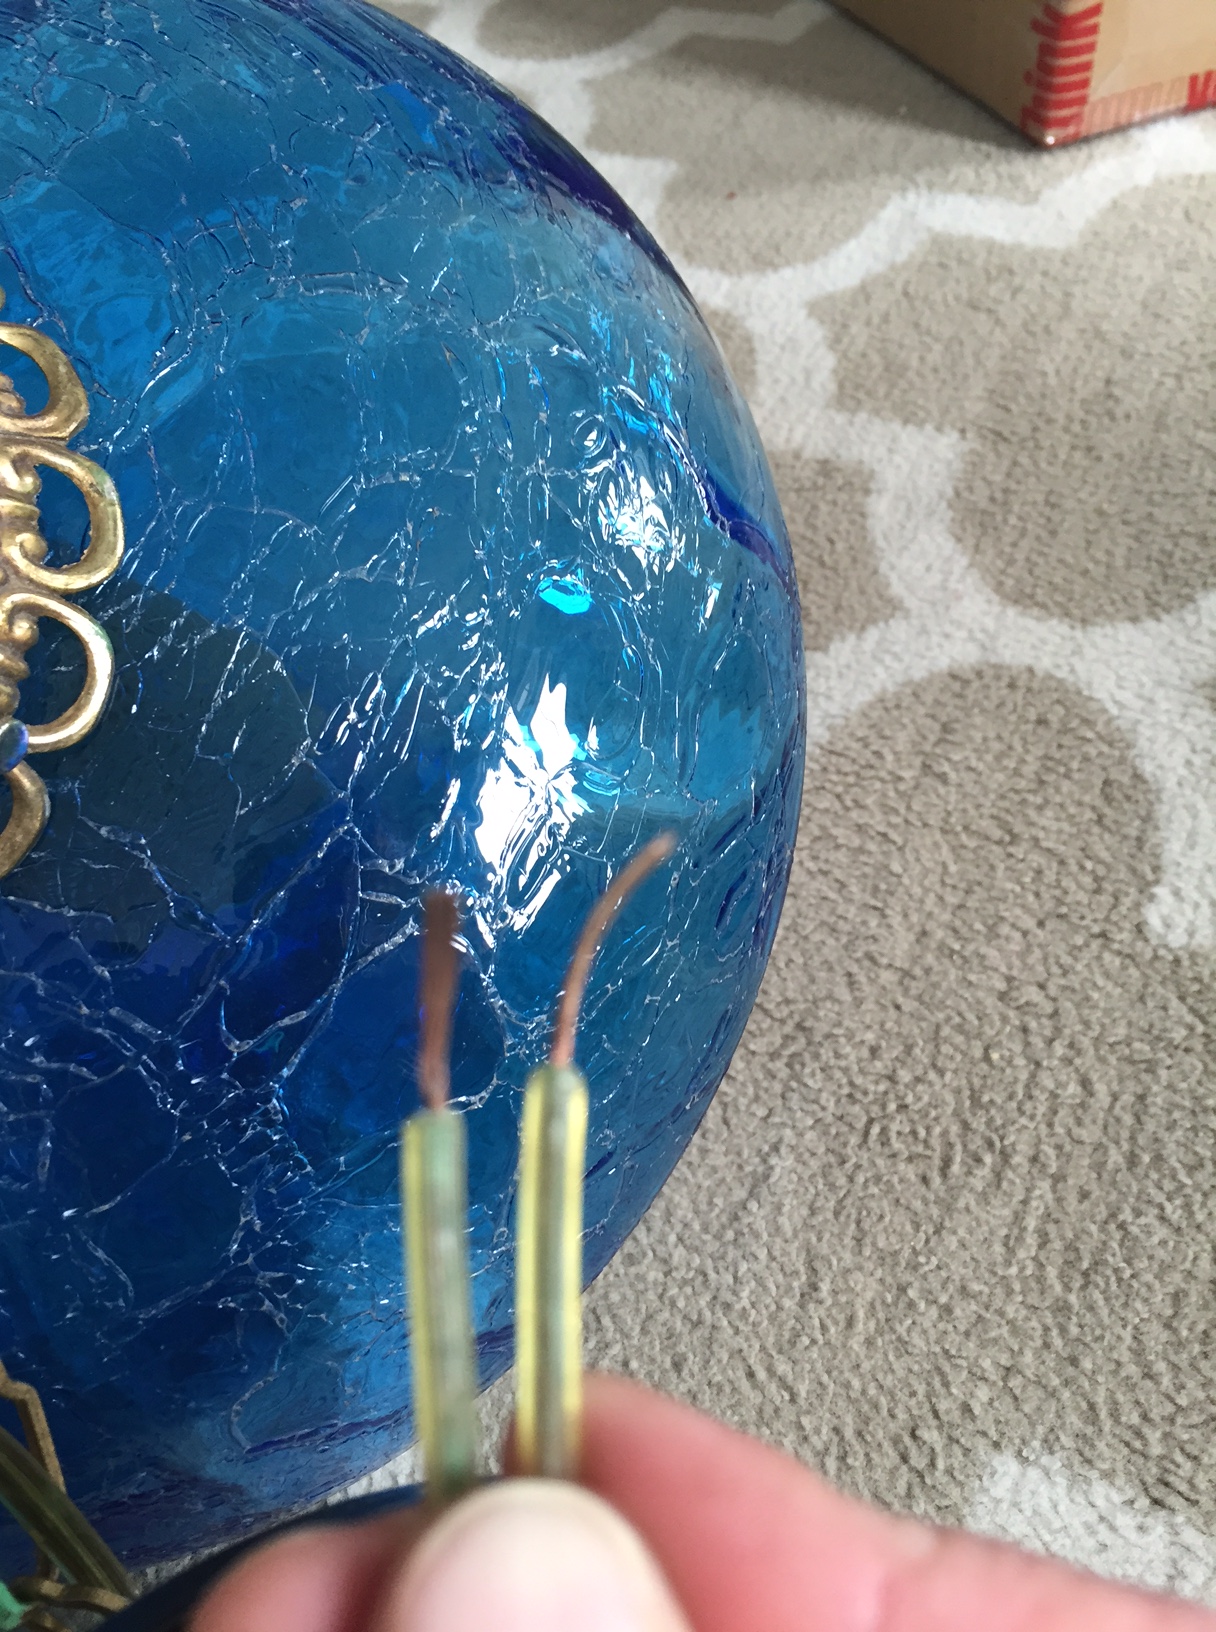
Step 10) Twist the wires together once you’ve removed the insulation. This makes it easier to connect the wires inside the electrical box, and also helps to make sure they don’t accidentally touch each other and short out.
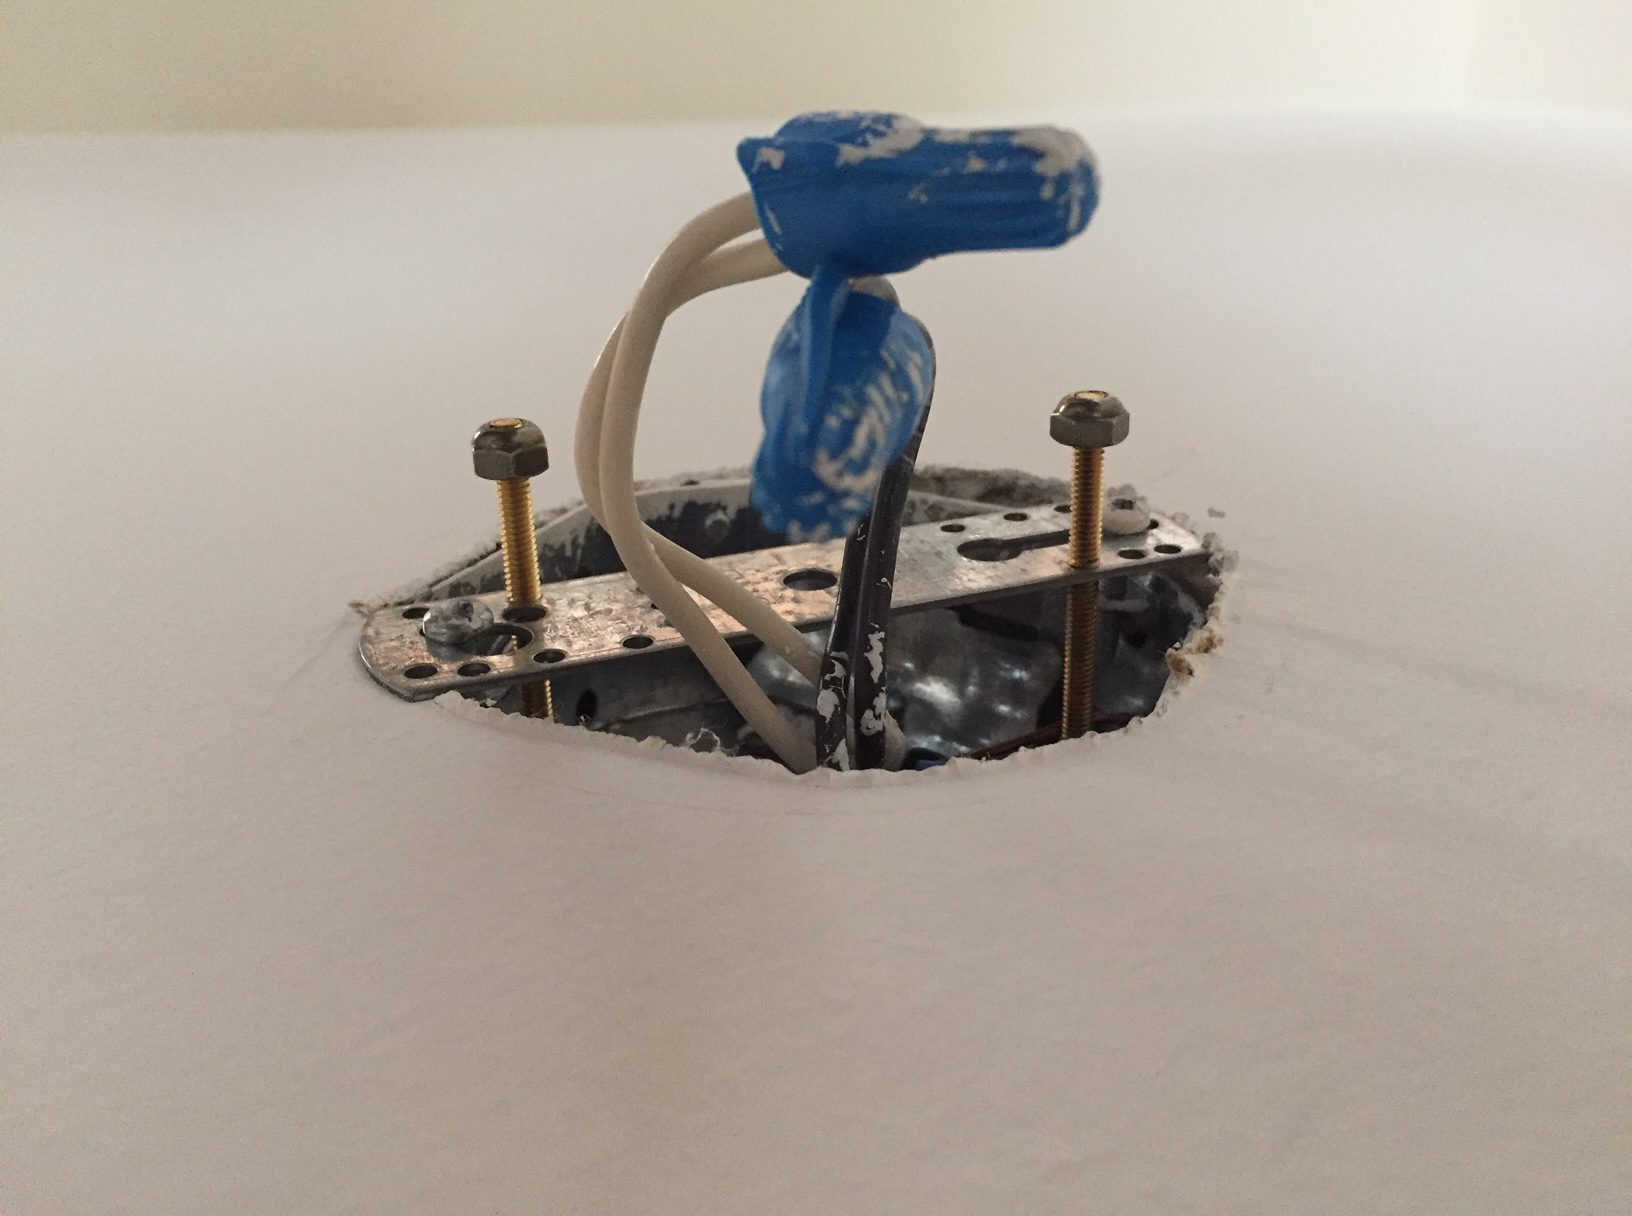
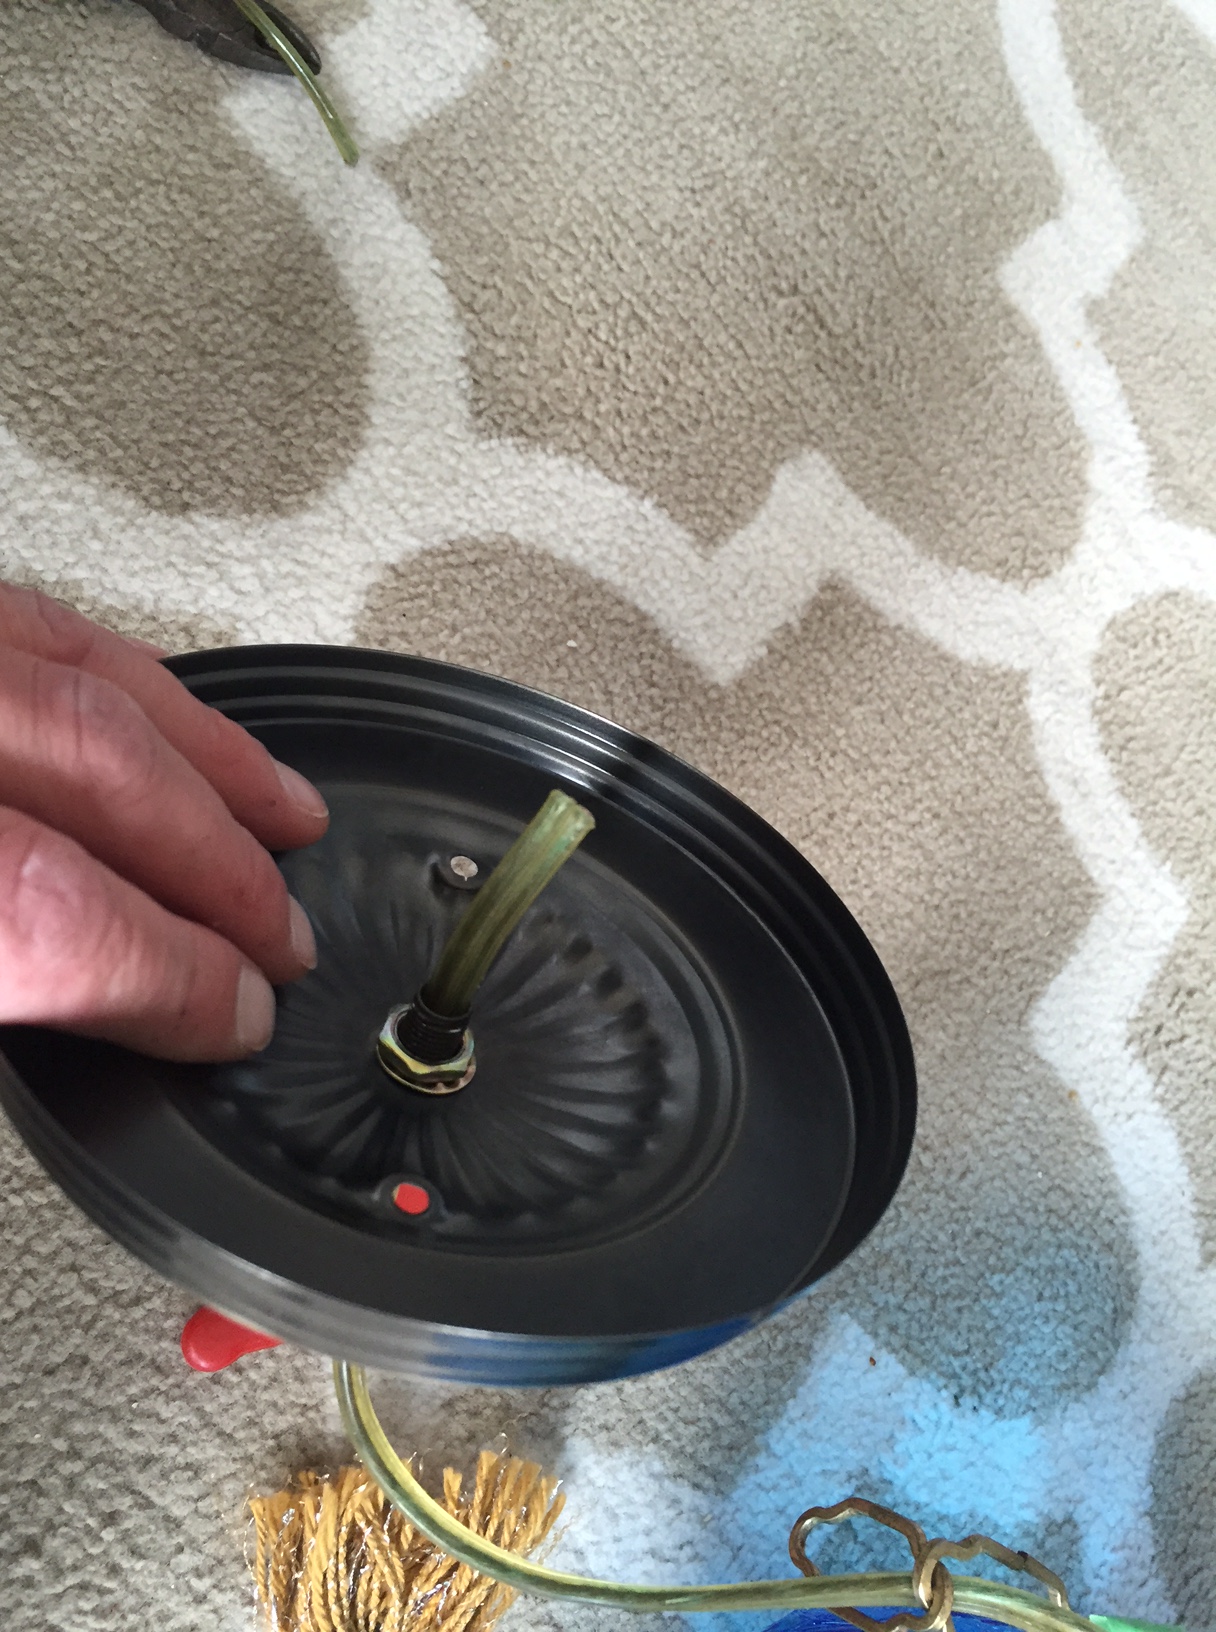
Step 11) Thread the long bolts that came with the canopy kit through the holes in the mounting bracket. Position them so they line up with the holes in the canopy. This is what will hold your light to the ceiling. Next, attach the mounting bracket to the electrical box. I used the screws from my old bracket, but your kit may have new screws as well.
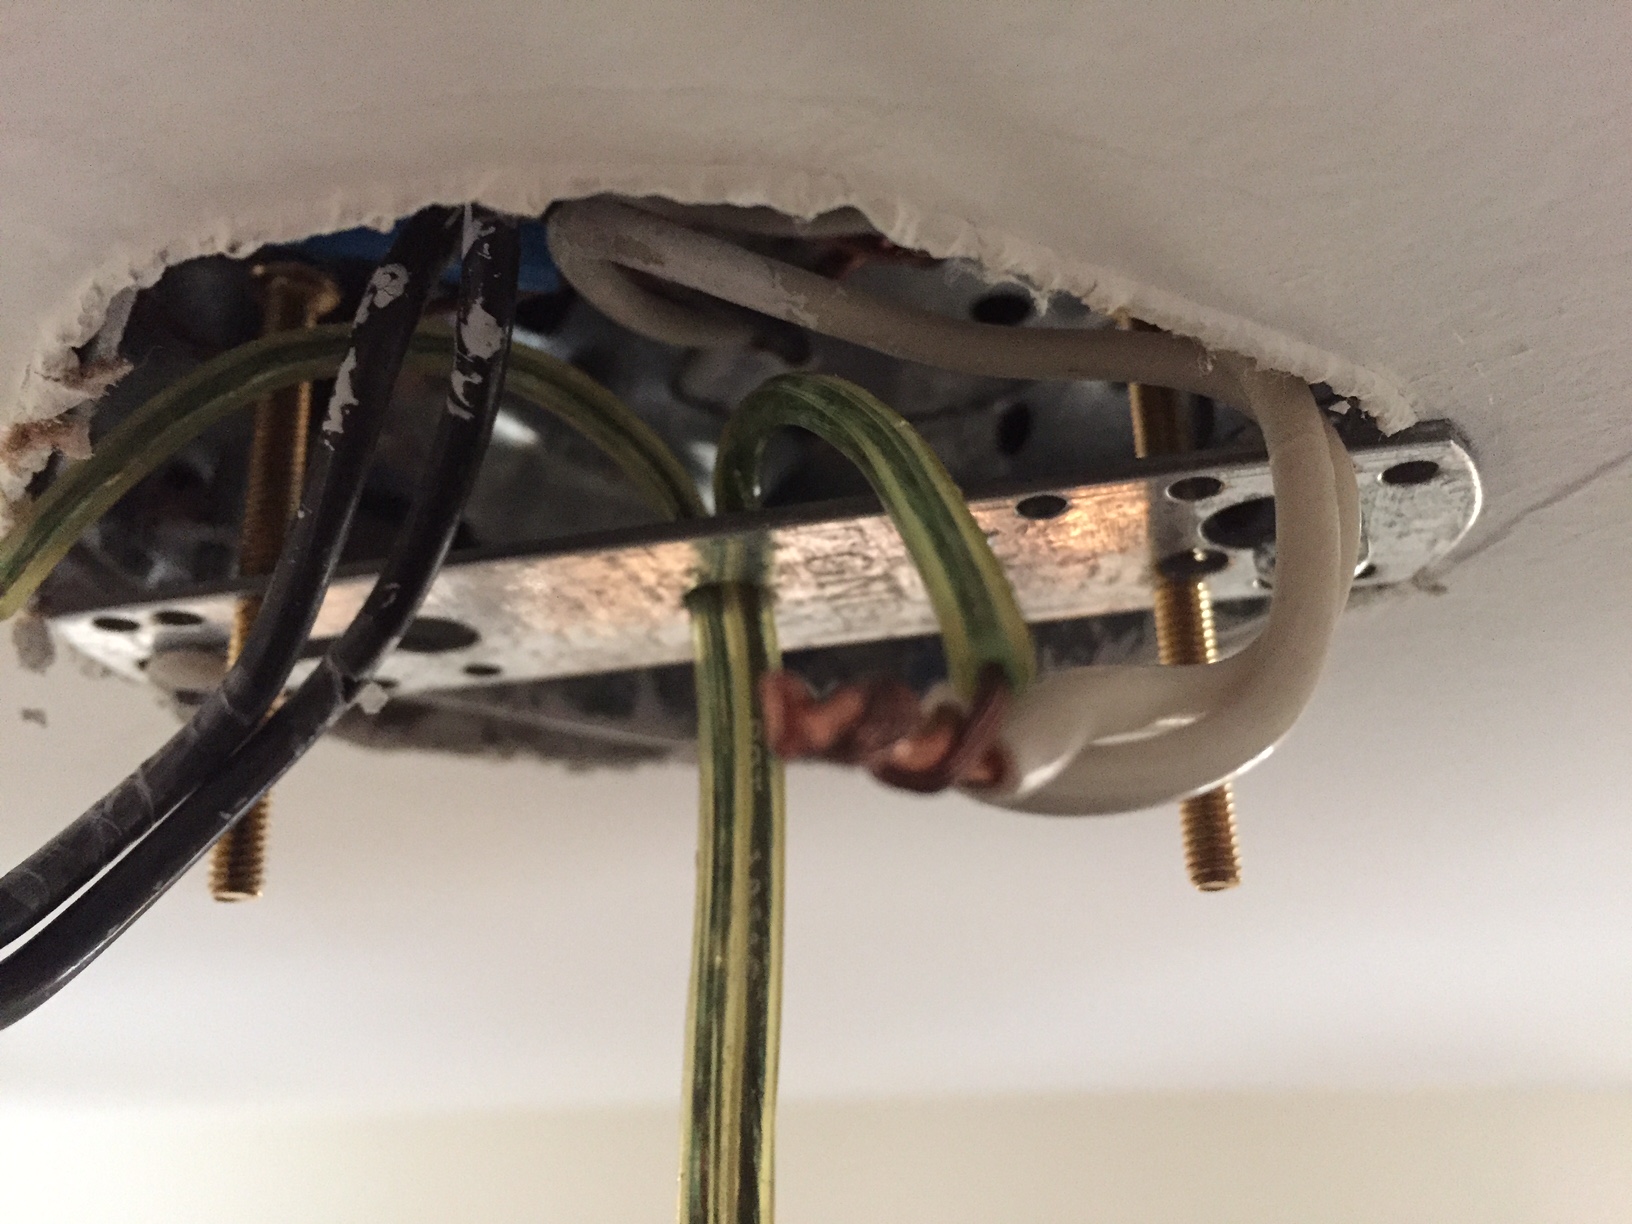
Step 12) Run the cord from your lamp through the hole in the center of the mounting bracket. It may be easier if you have someone to help you hold the light or can set it on top of a ladder for this part. Twist each wire around the bare wires in the electrical box. In my case, there is a white and black wire.
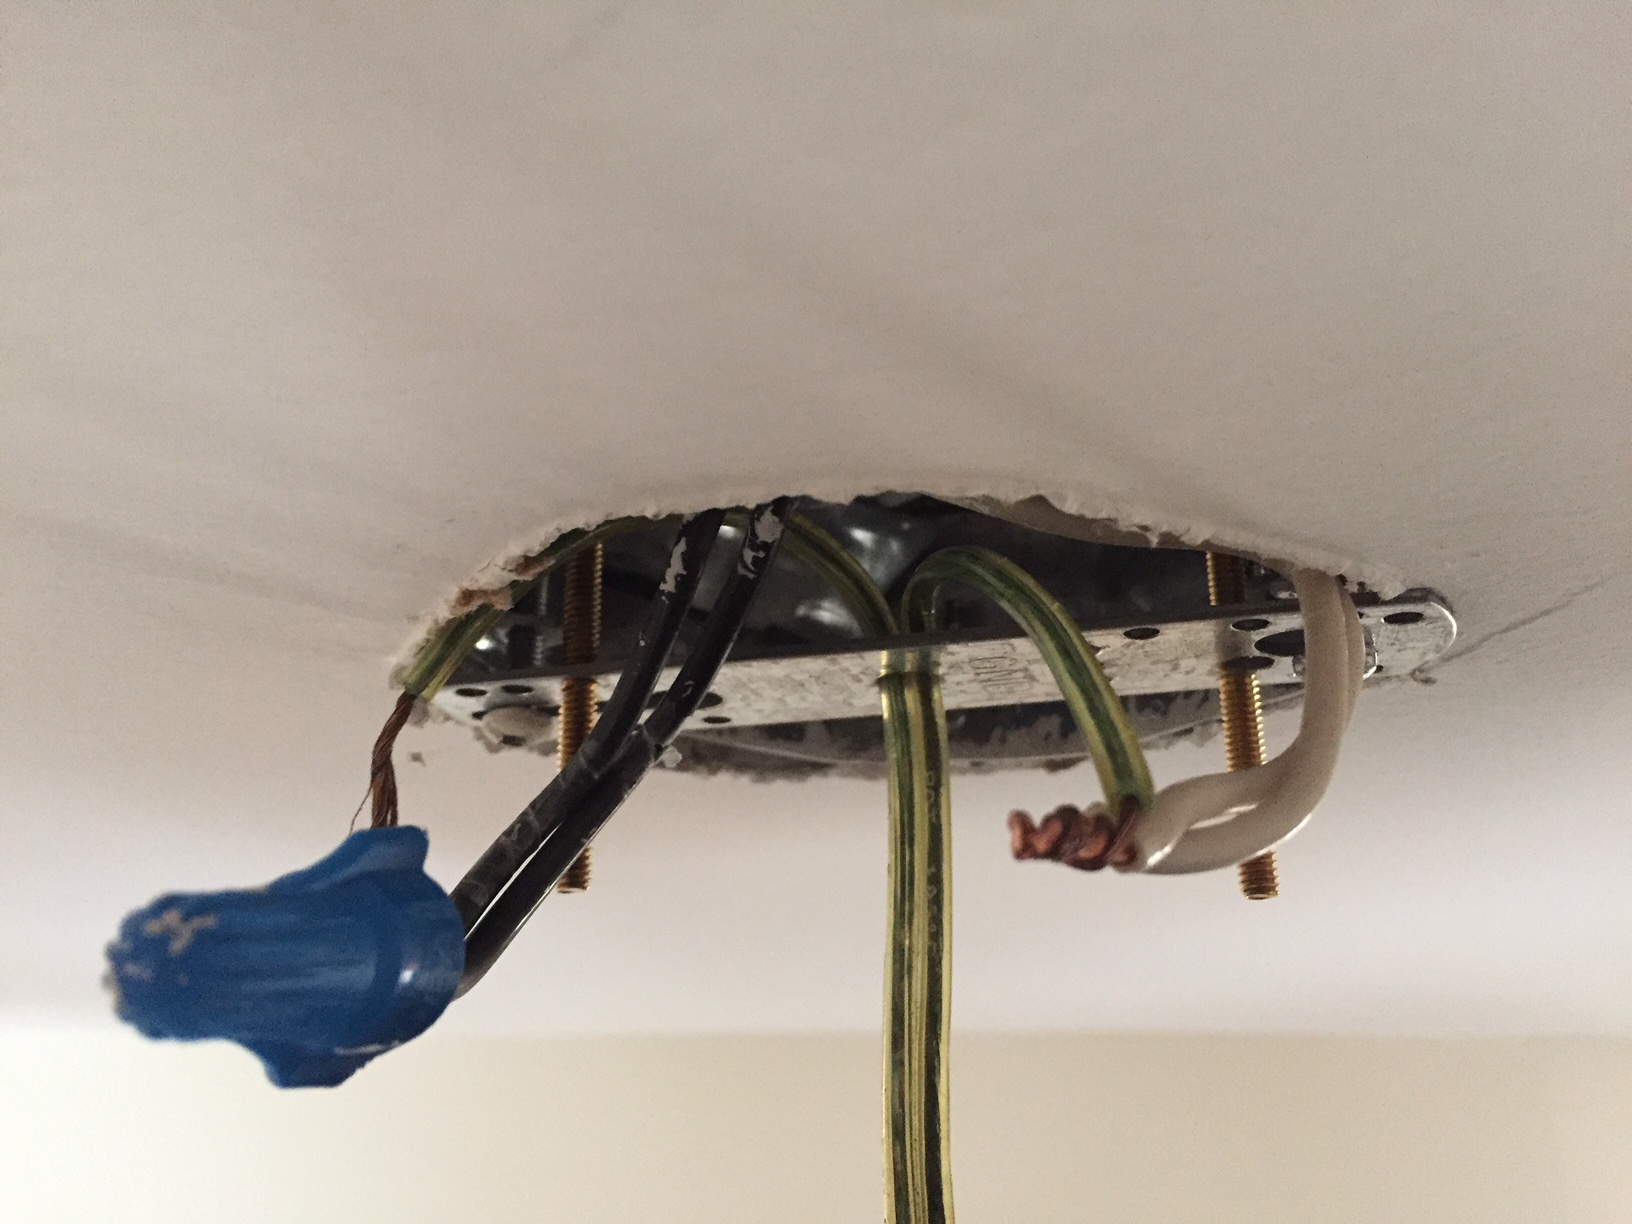
Step 13) Thread the marrettes (those blue plastic things) over the exposed wires. Then tuck the wires back into the box. Marrettes come in lots of sizes and colors
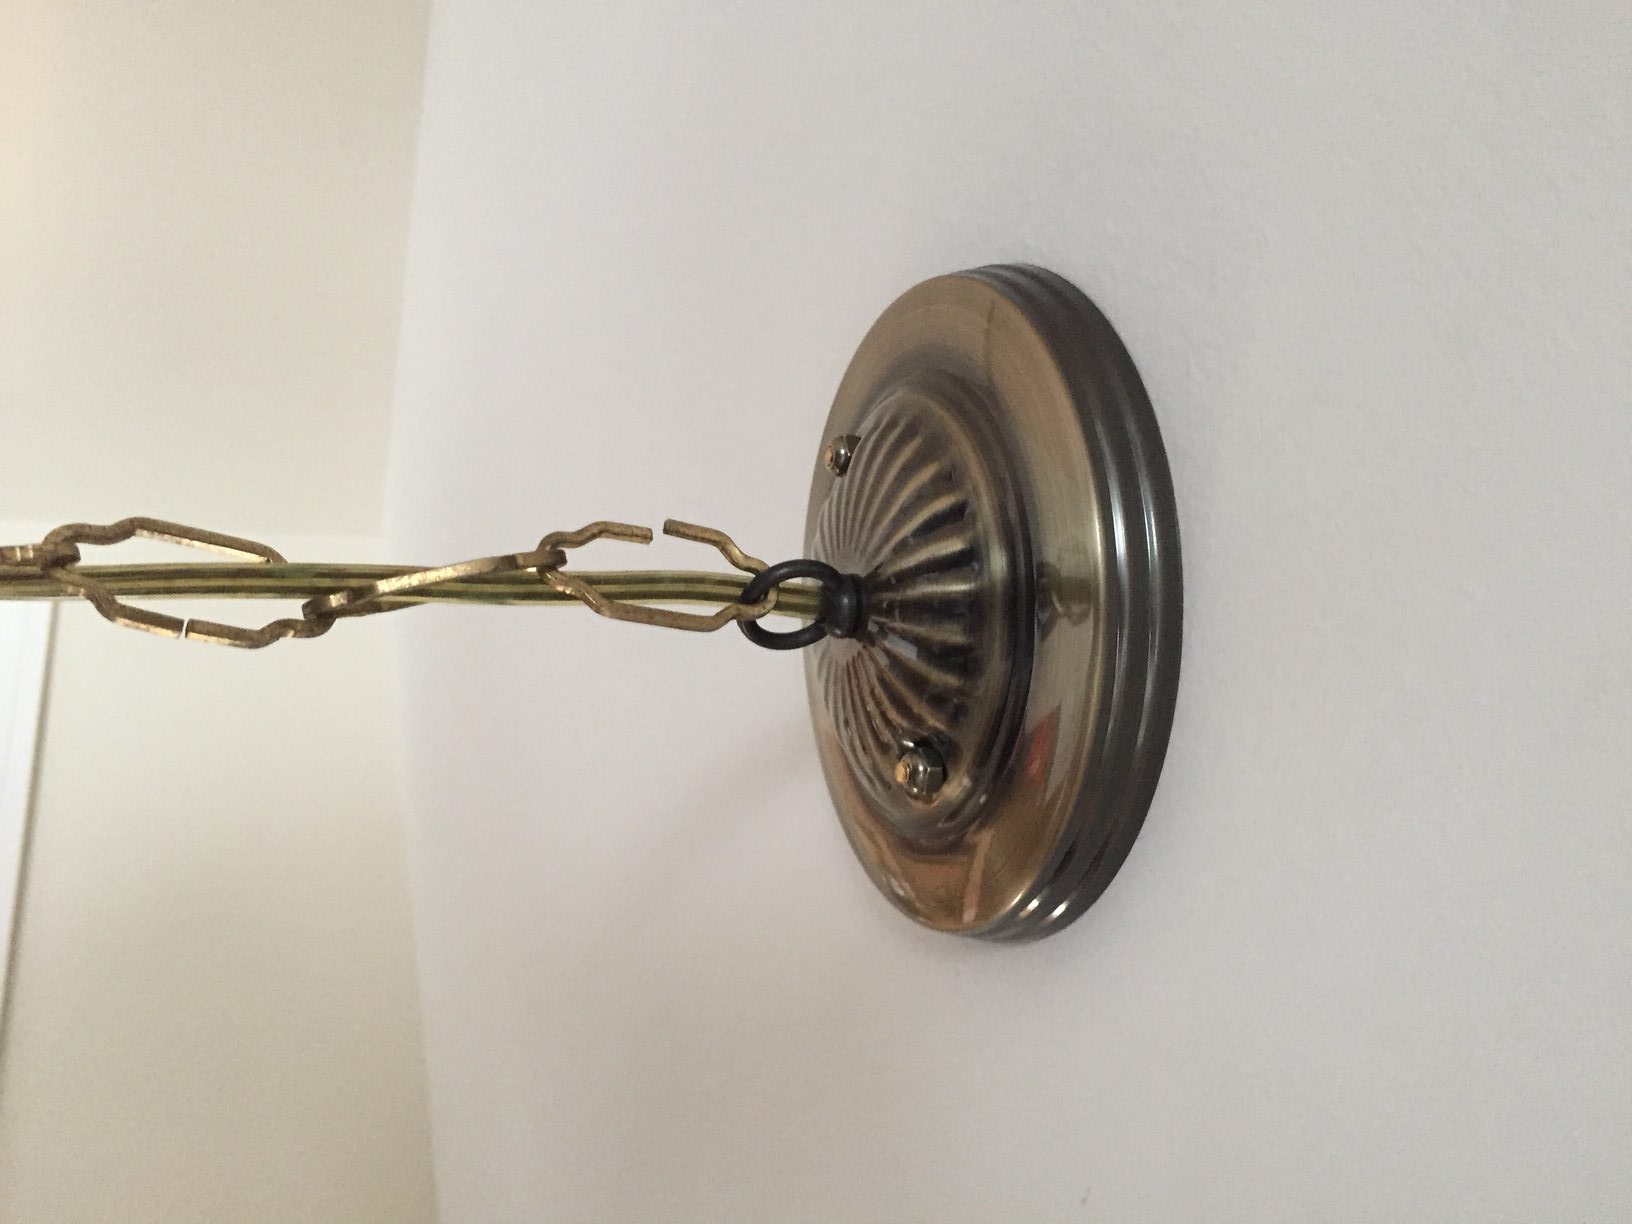
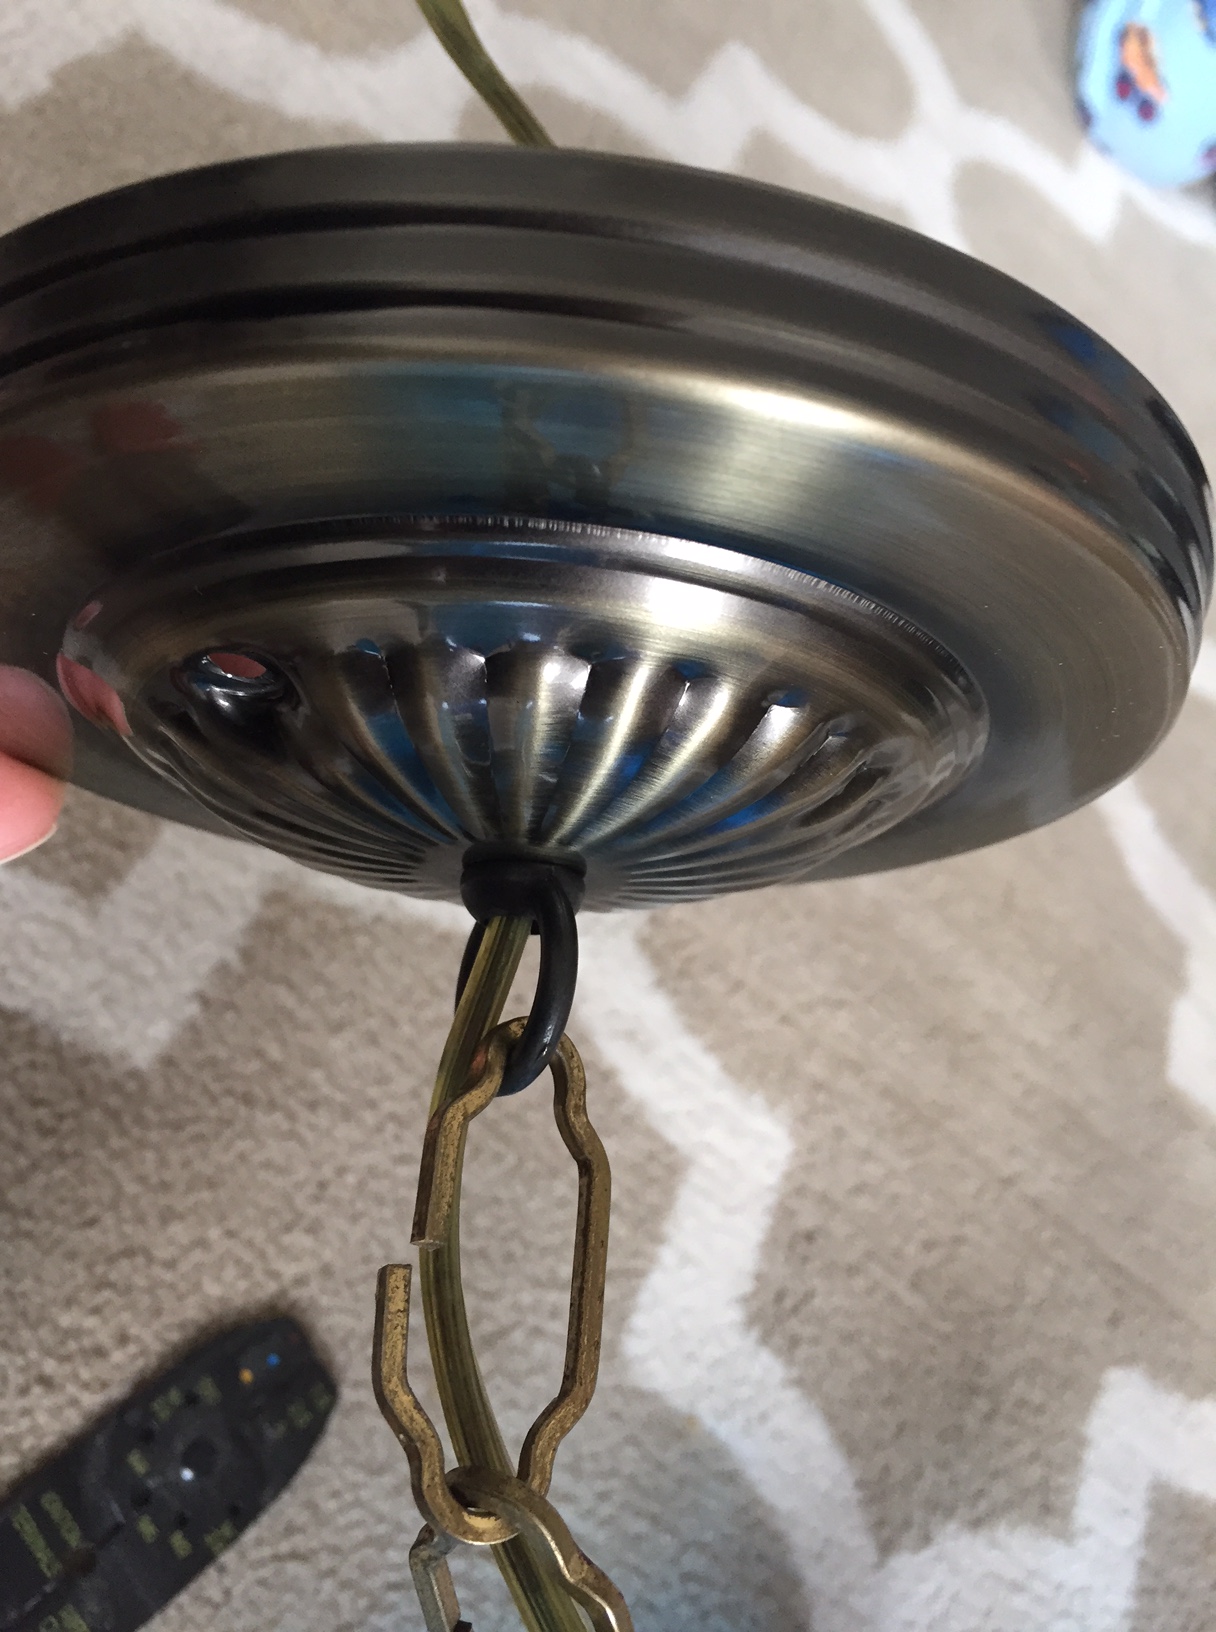
Step 14) Line up the holes in the canopy and the bolts from the mounting bracket, then thread on the acorn nuts (the decorative brass ones in this case). Make sure they are secure. This is what is holding up your light. Now you can close the gap in the bent link with pliers.
Step 15) Now we can test it out. Turn the power back on and flip the switch. Because this light had a pull chain to turn it on, I had to make sure the chain was in the on position. Then I removed the tassel since we would be using a switch to operate the light.
So there you have it folks! Blue Antique Brass Pendant Light installed.
Our next upgrade will be to add an Alexa compatible smart dimmer like this one.
Please leave me a comment if you have any questions! 🙂
xo Jennifer and Mr. ADH (MIKE)