
$5 DIY Coat Rack
This DIY coat rack project is so easy and looks so great when it’s done. It’s also easy to customize and put your own spin on. You’ll see various designs I’ve come up with.
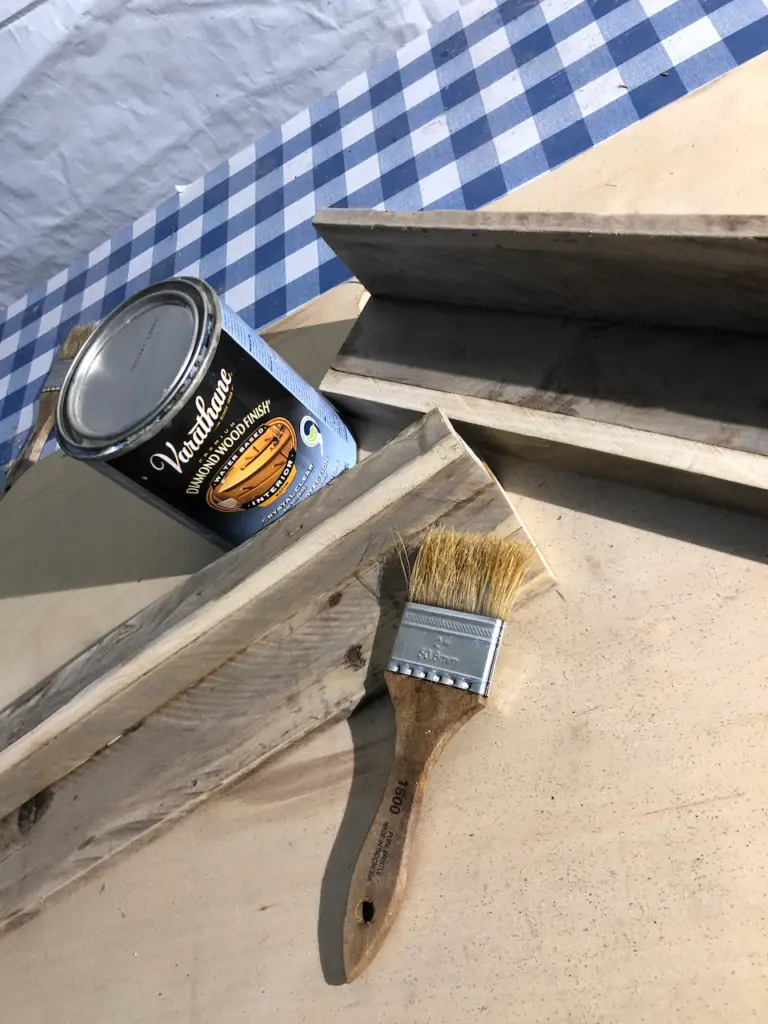
For materials, you’ll need wood, glue, finishing nails, clamps, 120grit sandpaper, and your choice of finish.
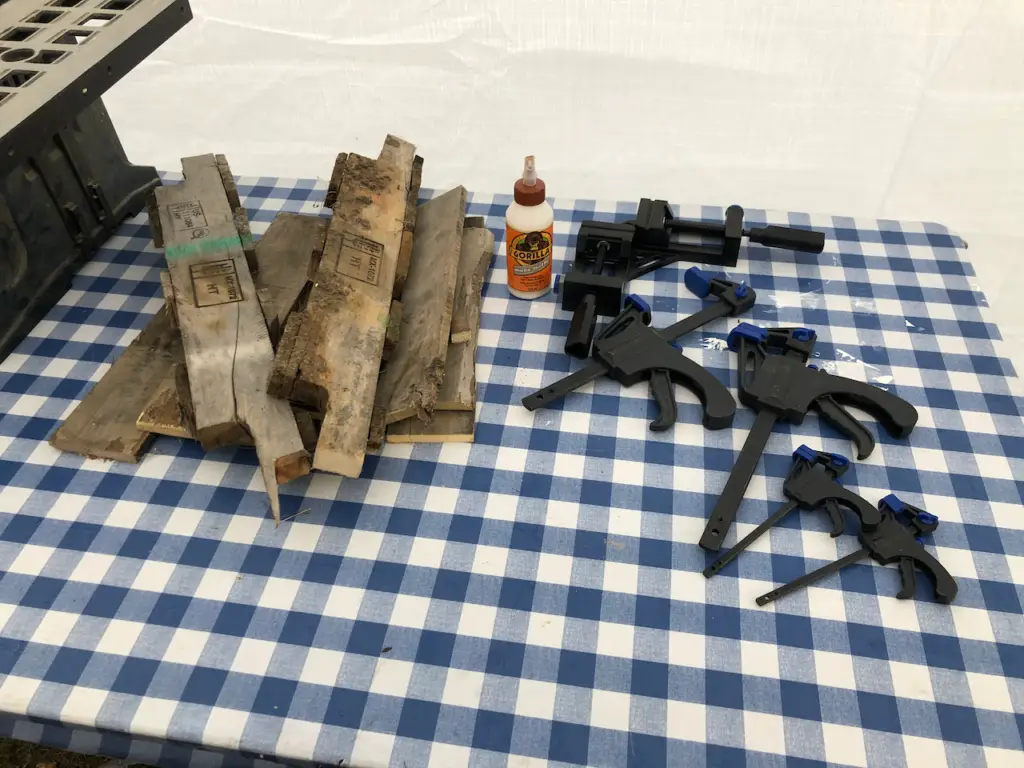
I used some scrap pallet boards from a previous project. I held onto them because they were a nice hardwood with wonderful tool marks and a rustic feel to it.
Determine how wide your coat rack needs to be. Standard wall studs in construction are 16″ apart, so keep that in mind if your coat rack is going to hold heavy stuff. 18″ should be wide enough to mount to a wall stud on each end.
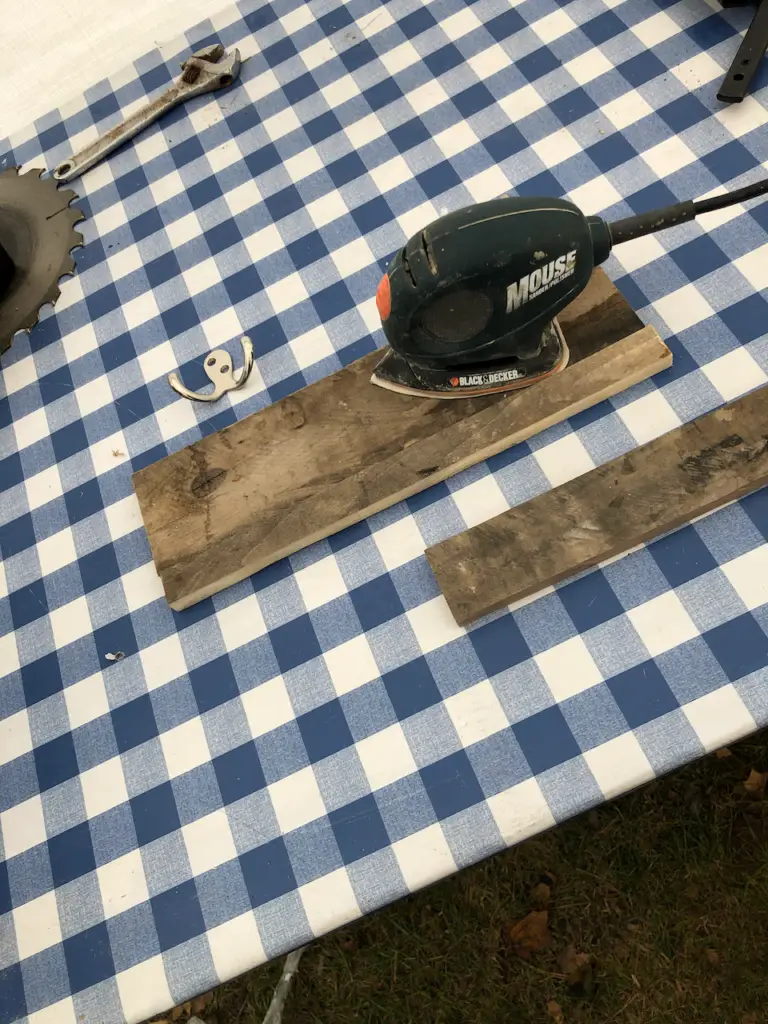
once you’ve selected your wood, lightly sand it down. In my case, I used a 120 Grit sanding pad so I could just get the high parts and rough edges without removing too much of the aged patina.
Project Cut Sheet
This is based on pallet boards that are about 1/2″ thick. If you’re using thicker material, then make these cuts wider. Cut your boards according to the cut sheet below.
| Cut (based on an 18″ coat rack) | Quantity |
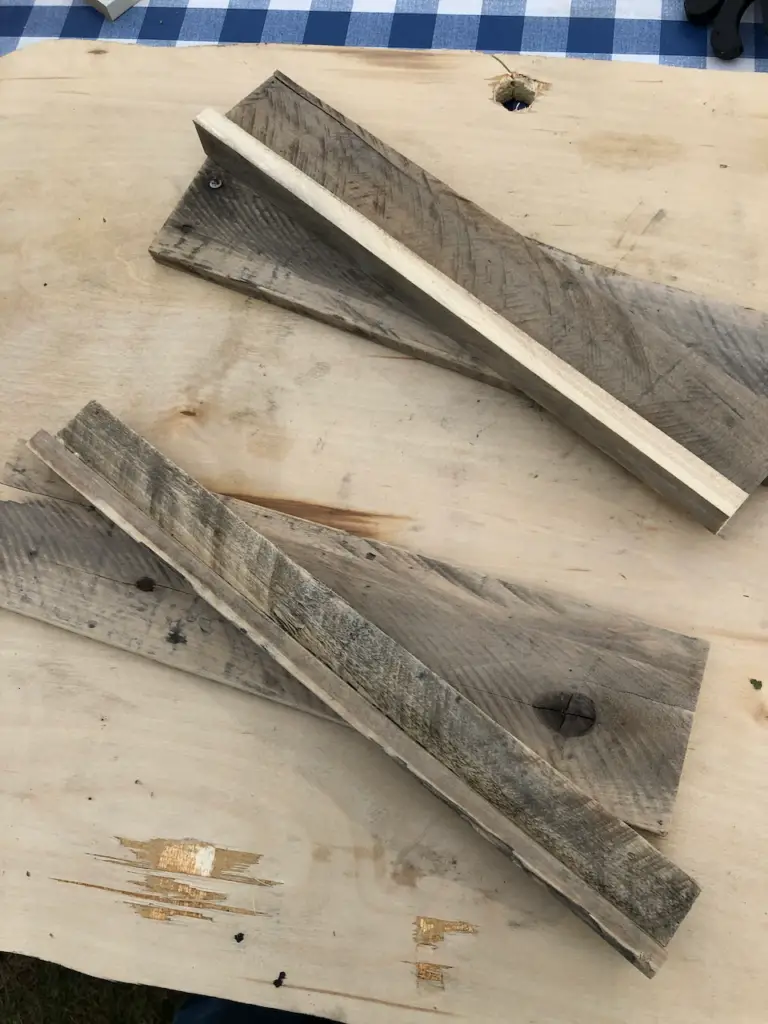
| 18×4″ – Coat Rack Wall Board | 1 |
| 18×1″ – Picture Rail Lip | 1 |
| 18×2″ – Picture Rail Base | 1 |
Test assemble everything and make any final trims to ensure the boards are all the same length. Also a good time for any final sanding before assembly.
Next glue the 1″ board to the outside edge of the 2″ board. the 2″ board will be the base for the picture rail. Use clamps to hold it together while it dries. Then glue the picture rail we just assembled to the 18″ wide coat rack board. Be sure the top of the Picture Rail Lip is flush with the top of the Coat Rack Wall Board.
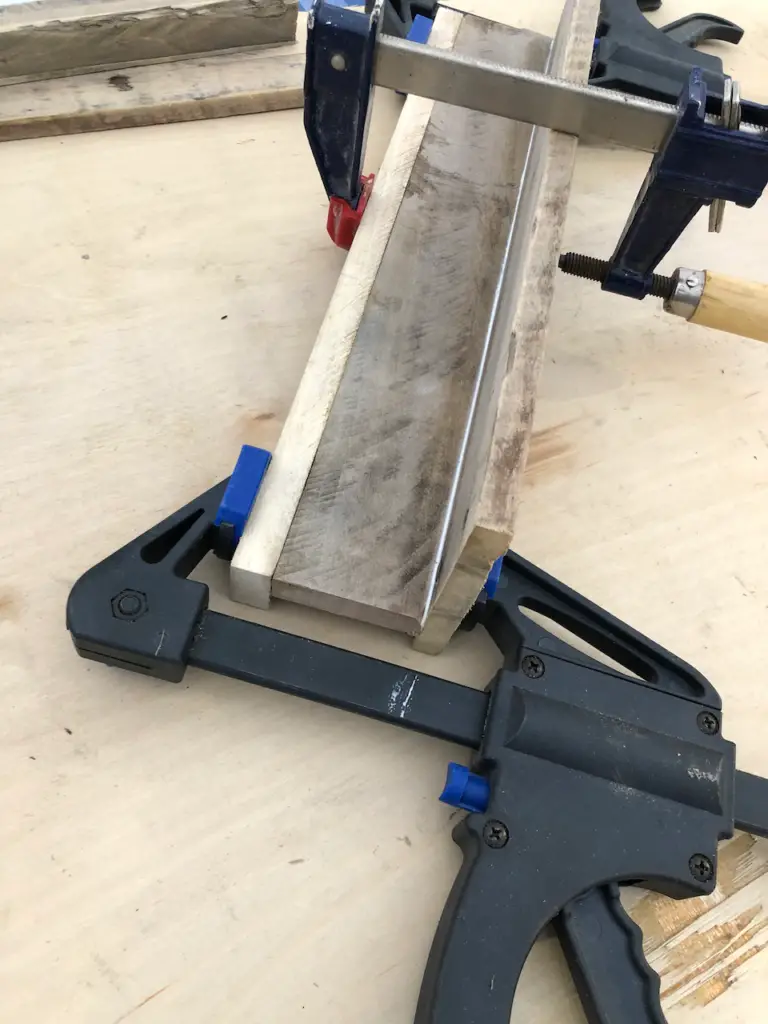
Clamp the sections together and wait for the glue to dry. For added strength, I also stapled all the connections together as well. Finishing nails and a hammer are just as good. If you’re going for the rustic look, try coloring the end of the nails with a black marker before tapping them in. It makes them look old to me, ha!
After everything is dry and nailed together, apply several coats of clear, or whatever finish you chose. I just happen to have a Satin Polycrylic so that’s what I went with.
To get more color depth, try many thin coats to gradually build up the clear. Thicker coats can go cloudy in areas where the clear coat pools. With multiple thin coats, you can get the resin-filled look.
DIY Coat Rack Assembly
Layout where your hooks should be on the coat rack wallboard and mark the holes. Depending on how long your board is, you may want to change the spacing. For an 18″ board 3-4″ from the edge should be a good balance.
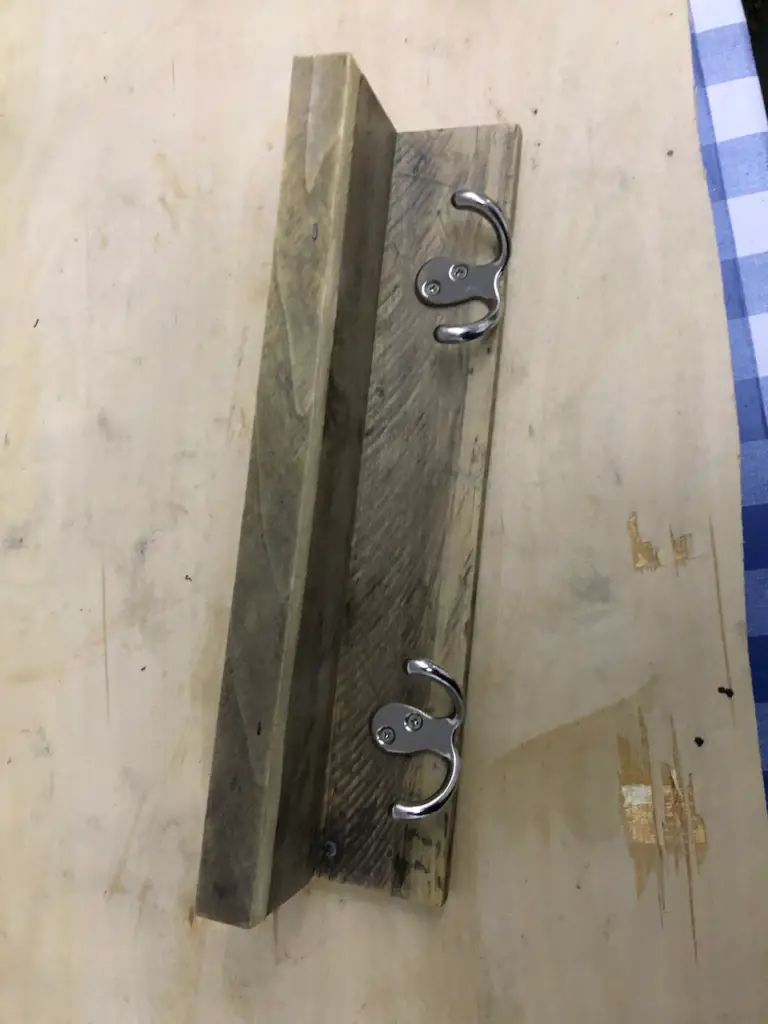
When you are choosing hooks, don’t pick ones that are too tall. It’s hard to get stuff on them because they mount too close to the picture rail. The hooks I chose to hang low at the bottom, so they’re easy to get to.

You’d be amazed at the selection of Rustic Coat Racks like this on Amazon too.
Be sure to check out more DIY projects below, and with thanksgiving just around the corner, you’ll love these free printable menus, banners and table cards too
https://www.augustdecemberhome.com/category/diy-projects/
And check us out on HomeTalk too 🙂

