
For a few bucks on amazon, some tape and cutters you too can add wireless charging to your sweet ride!!
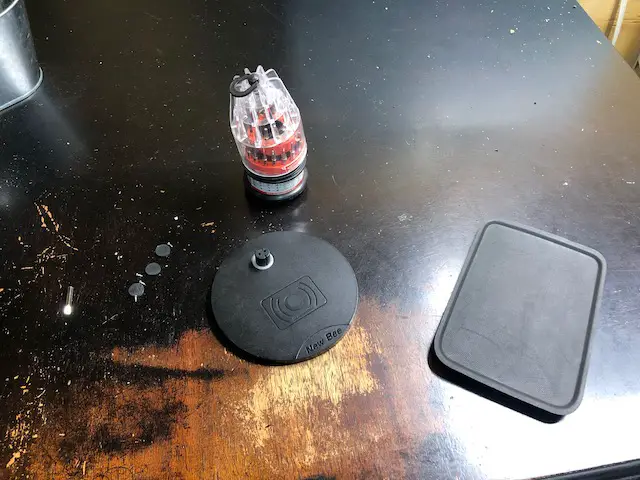
I bought this headphone stand/charger combo off Amazon for my son. It worked for about a month before the headphone stand broke. The charger still worked fine, aside from the post sticking out of it.
Rather than toss it, I decided to solve my other problem. There is never a working iPhone charger in my truck. They just disappear. It has nothing to do with 4 kids and a wife who all have iPhones and no charging cables.
Solution: I’m going to gut this charger, and stick it on the back of the rubber mat in my center console, then figure out how to plug it in.
Taking the wireless charger apart
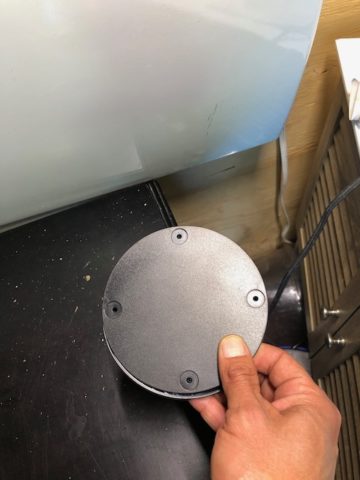
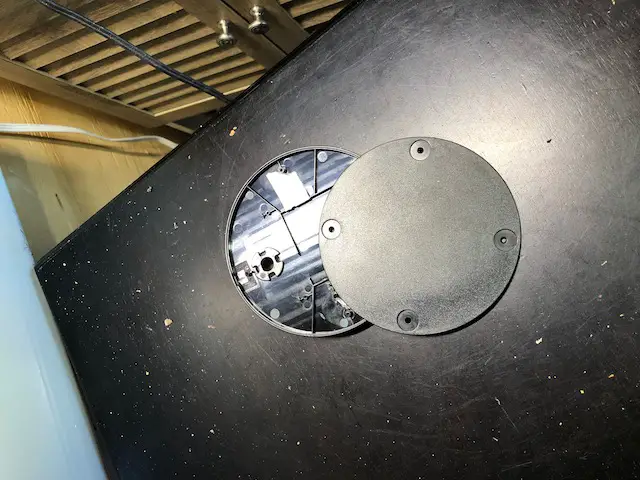
Disassembling the wireless charger was pretty straightforward. All I needed was a small screwdriver, to remove 4 screws from the base. They were hidden under the rubber stickers.
That’s literally it. The wireless coil and a small circuit board are taped into this plastic shell. The circuit board has a Micro-USB port attached to it, and that s all we are going to need to get this working in the car.
Assembling the Wireless Charger for the Car
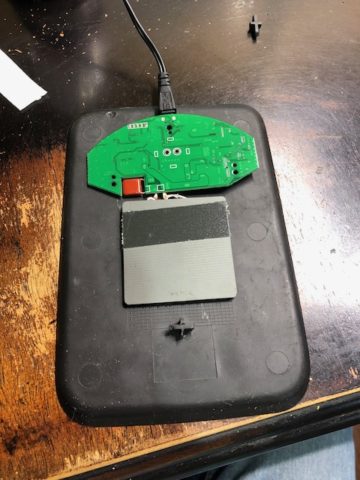
To assemble the wireless car charger, I followed the same practice. Make it fit, then tape it down.
To do this, I had to take the rubber mat out of my car. this is where I want to put my phone to charge. Getting it out was just a matter of lifting a corner, and popping it out. So far, with the exception of a screwdriver, this project hasn’t required many tools, and hardly any work.
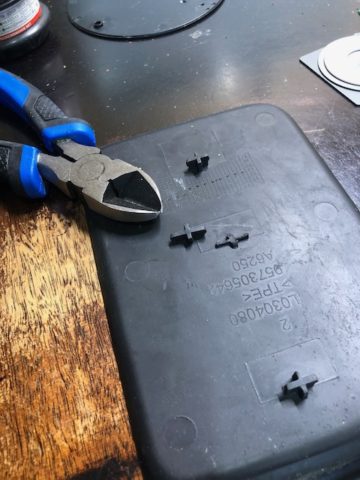
Once I knew where the charger needed to fit in order to charge my phone, I finally needed to use a tool (sort of). There were a couple of rubber teeth that held my mat in place in the centre console of my truck. They were in the way of the charging coil, so I snipped them off with my side cutters. Probably overkill as a pair of scissors or a sharp knife would have worked just as well, if not better.
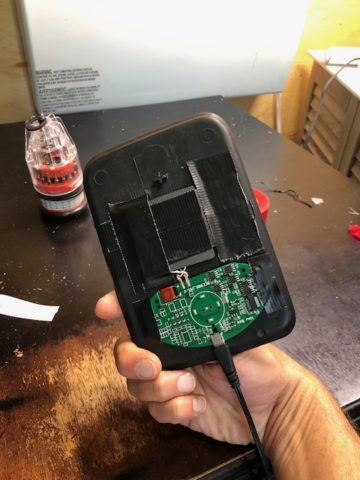
I used a few strategically placed strips of duct tape to hold the charging coil and the circuit board to the back of the rubber mat. I positioned it so the Micro-USB post would be at the back of the mat. That gives me more options for places to plug it in and hide the wire. If you are lucky, you may be able to tuck the wire inside your console.
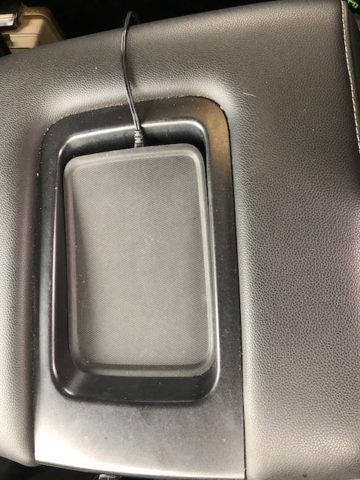
After popping the mat back in place, this is what my wireless charger looks like. I’ll go back and drill a hole to fish the wire inside the center console, but for now, this works great. I have it plugged into the USB ports for the rear passengers, but I have more USB ports inside the console. That’s ultimately where this will get plugged in.
If you don’t feel like hacking up your ride to make one of these bad boys, you can always buy a wireless charging mat and plug it in in the car. These vent or dash mount ones are good too if you have space for them. This one is also magnetic, you get a phone magnetic case and a powerful magnet holds it in place while it charges.

